When your house gives you square-footage-challenged lemons, you make square-footage lemonade … or in my case, lemon-wheel-garnished sangria. Each spring, as the weather changes from dreadful to dreamy, I come to realize how my dining room only accommodates two to three people max. Knowing that three is a crowd and that crowds, once armed with adult beverages, often result in broken glass, damaged feelings and/or stained furniture, I was not about to host a springtastic cocktail party anywhere near my grasscloth-covered walls. Determined to take the party outside, I put my own carport to the test to see if I could transform it into a temporary dining space on a budget. Along with my carpenter-friend, Brian, and my designer-slash-assistant-slash-friend, Aprill, here’s a few simple, cost-effective ways we outfitted a covered parking space for both park and recreation. And, yes, Aprill is spelled with two Ls.
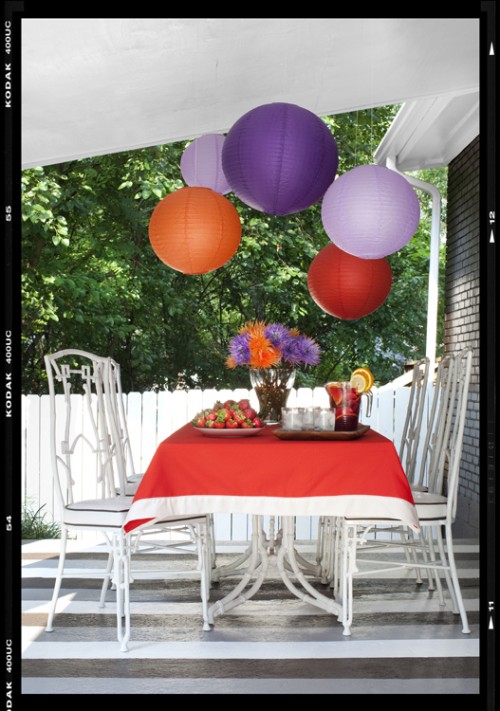
It’s hard to believe this space has been catching oil leaks and taking a beating from muddy tires. But with the introduction of pattern, color and lightweight furniture, it completely takes on new identity as a place to throw back red sangria — and, thanks to my over-propping, a gigantic plate of enormous strawberries.
Step 1: To erase any sign that your new, albeit temporary, dining space is simply a waiting room for your trusted automobile, it’s best to start from the ground up. Pick up three gallons of garage floor paint in contrasting colors to create a graphic pattern which will result in a dining-room-rug-like appearance. I suggest stripes since they’re simple and quick to create.
After washing the surface with a hose and letting it air dry, paint the entire surface a solid base color using a roller on an extender pole. Once the base color is dry to the touch, use painters’ tape to mark your pattern. Paint your first accent color between the proper pieces of tape. Once the first accent color is completely dry, reposition the tape as necessary, then paint your final accent color. Wait at least 4 hours before walking on the newly painted space.
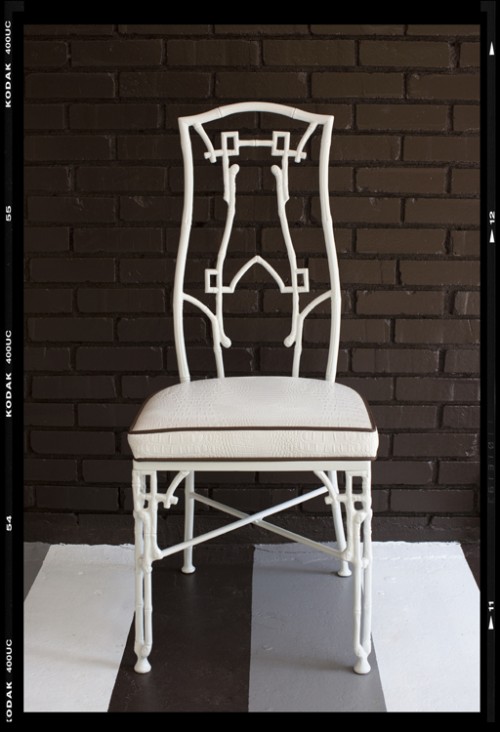
Step 2: Choosing proper seating is key to keeping your guests happy. If you couldn’t care less about your guests’ comfort level, perhaps you need to rethink exactly what kind of friend you are … ha! Hit up flea markets, thrift stores or garage sales for sturdy, lightweight chairs made of metal or plastic. Pay no attention to the finish on the frame or the cushion; those are simple things to change.

Step 3: Lightly sand the existing finish of your secondhand chairs with a sanding block. To transform them on the cheap, add a coat of spray primer, then a finish coat of high-gloss spray paint with a spray handle attachment. Or drop the chairs off at a local auto body shop for a super thick, extra durable car-like finish with a much heftier price tag.
To give the cushions new life, remove the existing cushion with a screwdriver, tear off the old fabric, then use a staple gun to attach the new fabric. For a more tailored look, drop the cushions off at a local upholsterer who can add welt cord for a touch of contrast.
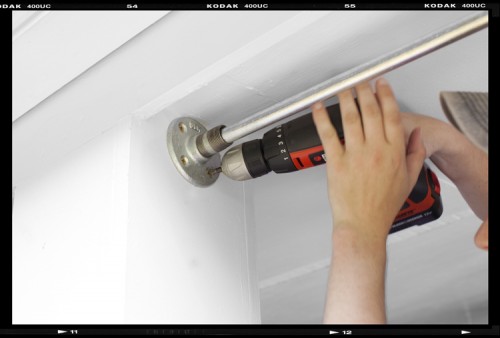
Step 4: Privacy is important to keep those nosy neighbors from listening in on conversations and peeking in on shenanigans. No walls? No problem! Simply repurpose galvanized metal conduit as drapery hardware by attaching the conduit to outdoor walls or beams using plumbing flanges and metal screws.
Note: You’ll need clip rings in order to quickly put up and take down outdoor draperies panels. Make sure you slide your clip rings onto the poles before attaching poles to flanges.
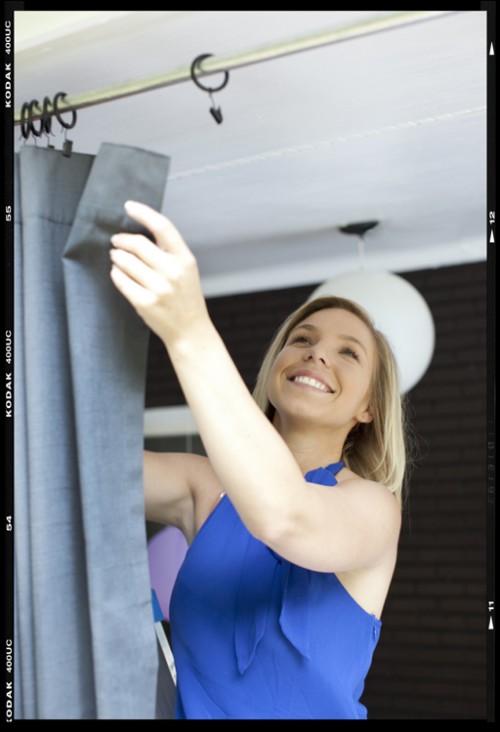
Step 5: Once the poles and flanges are in place, attach your drapery panels to each clip ring. Keep in mind you’ll need an average of 7 clip rings per panel. See how Aprill is smiling as she hangs the panels? It’s probably because of that extra L in her name.
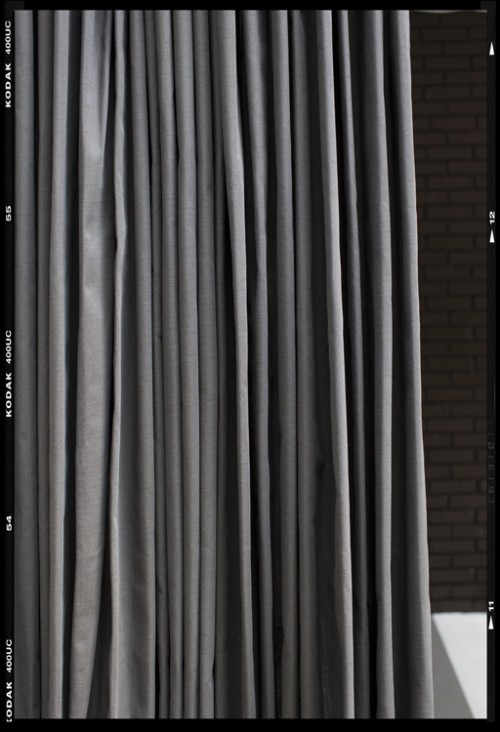
Step 6: To give your outdoor drapery panels a more tailored look, it’s all about the fold. Once the panels are all attached, run your fingers Chinese-finger-cuff-style through the back and front of the fabric, then create a fold from the top all the way to the bottom. By the time you do this, they’ll look as though they were professionally sewn.
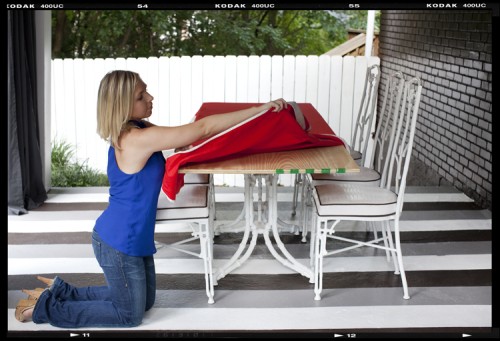
Step 7: As far as choosing outdoor tables go, worry more about the sturdy base than the top. If you find a great base but no top, simply have a piece of pressure-treated plywood cut to size, attach it to the base with screws, then conceal it with a tablecloth.
Step 8: If you’re good with a sewing machine, consider adding designer detail to a readymade tablecloth with a solid border around the edges. This adds graphic impact and takes away the I-ran-to-the-store-and-bought-this-last-minute-ness of it all. For those who can’t operate a sewing machine, consider adding the trim using a roll of iron-on adhesive tape and an iron.
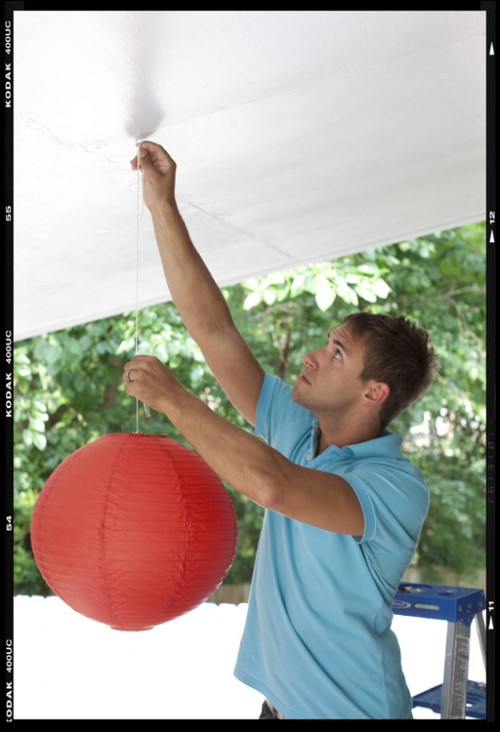
Step 9: Every great dining room has a great light fixture above. To ground your temporary outdoor dining space without having to deal with electricity or major costs, stick with paper lanterns in contrasting colors; they’ll kinda double as art. As far as hanging them goes, all you’ll need are some hook eyes and string. Take them one step further by adding battery operated tea lights inside instead of true candles. Last, notice the handsome carpenter dude in the photo? Yep, that’s Brian. He really hates me right about now for publishing this on the Interwebs.
Step 10: Every designer-caliber room needs a great piece of art, even if it’s outside. To hang a piece of art as a focal point, simply use a masonry nail and a hammer into the home’s exterior.
Step 11: Since your neighbors will think you’re nuts if you keep a sideboard on your carport 24/7, simply add casters to an indoor dresser, then wheel it outside when you need a serving station.
Step 12: The last step is to set the table. It may sound obvious, but flowers are that finishing touch that really pulls it all together. To make supermarket flowers work, simply buy a few bunches of the same species in different colors, remove the filler, then place them in a vase. If your friends ask where you got the impressive bouquet, tell them “from the most expensive florist in town.”
Step 13: At the end of a long day, sit back and enjoy all your hardwork. And if those pesky neighbors try to get all up in your business, simply draw back those drapery panels and fuggedabowdem!


