

DIY Weekend: Outdoor Cushions
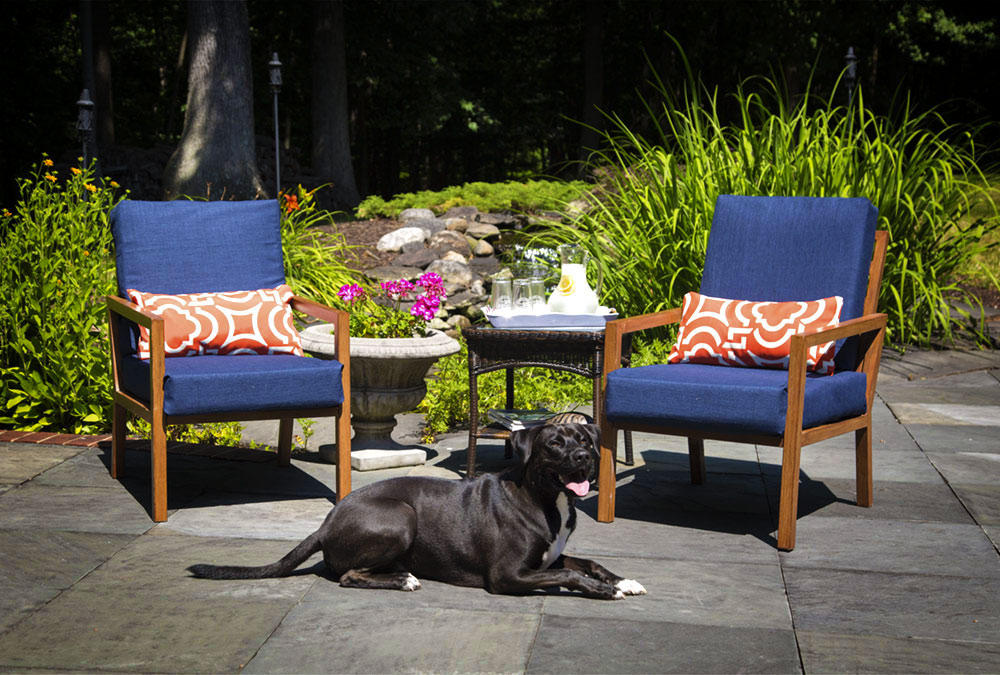
Create your own comfort with outdoor cushions.
You invested in outdoor furniture for a reason: you love spending time outside. And while you’re out there, you might as well make your outdoor furniture as cozy as you can. You can buy new cushions, but the cookie-cutter store variety simply doesn’t cut it when it comes to finding the right fit, color and style.
Here’s a solution: recover your own.
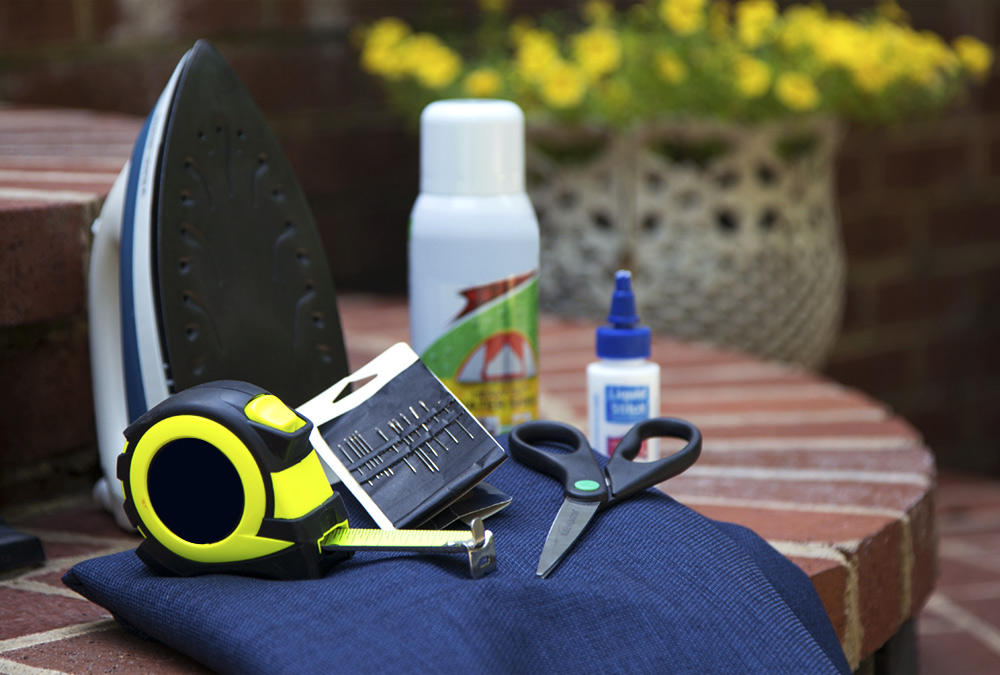
Do-it-yourself cushion supplies:
• Patio furniture cushions (or foam if you don’t have any)
• Fabric glue
• Outdoor fabric
• Measuring tape
• An iron
• Scissors
• Pins
• Waterproof spray (optional)
How to remake your cushion:
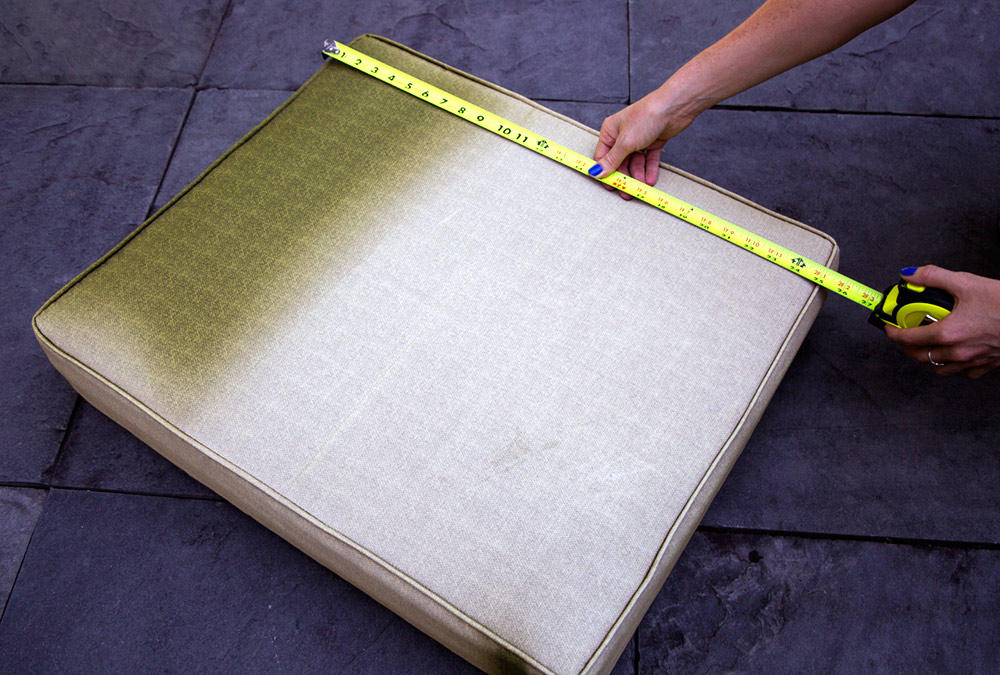
STEP ONE:
Measure the widest part of the cushion and the sides. These cushions measured:
Seat: 21.5″ x 25″ x 5″
Back: 21″ x 20.5″ x 4″
 STEP TWO:
Remove the existing fabric from your cushions or you can just cover them.
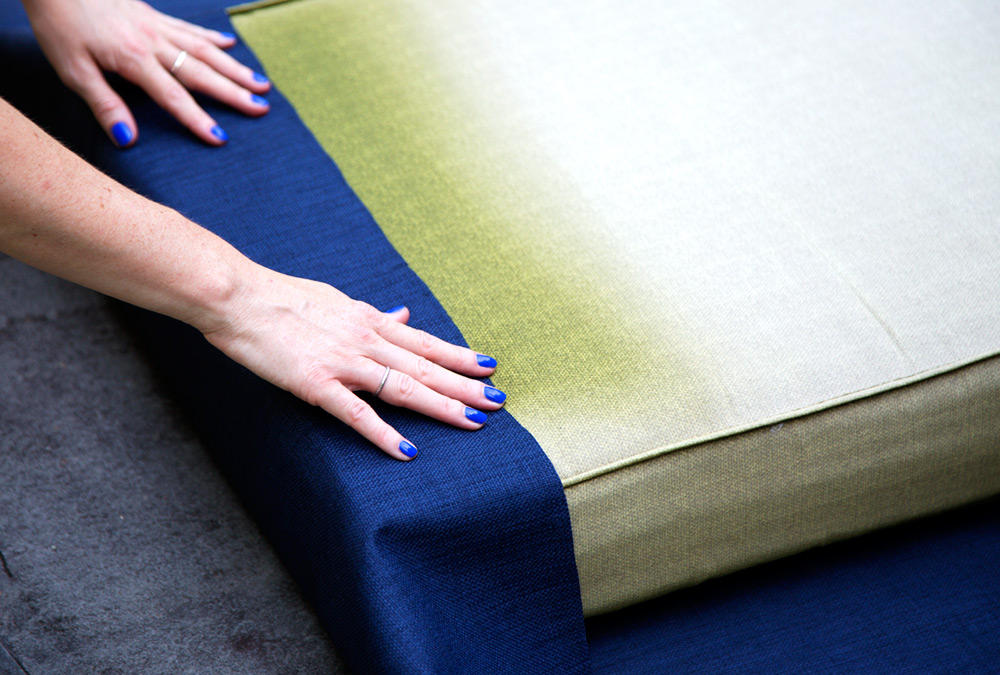
STEP THREE:
Lay your cushion down on the fabric, making sure your design is centered. Make sure you cut enough fabric to wrap around the front of the cushion, the sides and two or three inches of the back. Use pins to keep your fabric in place.
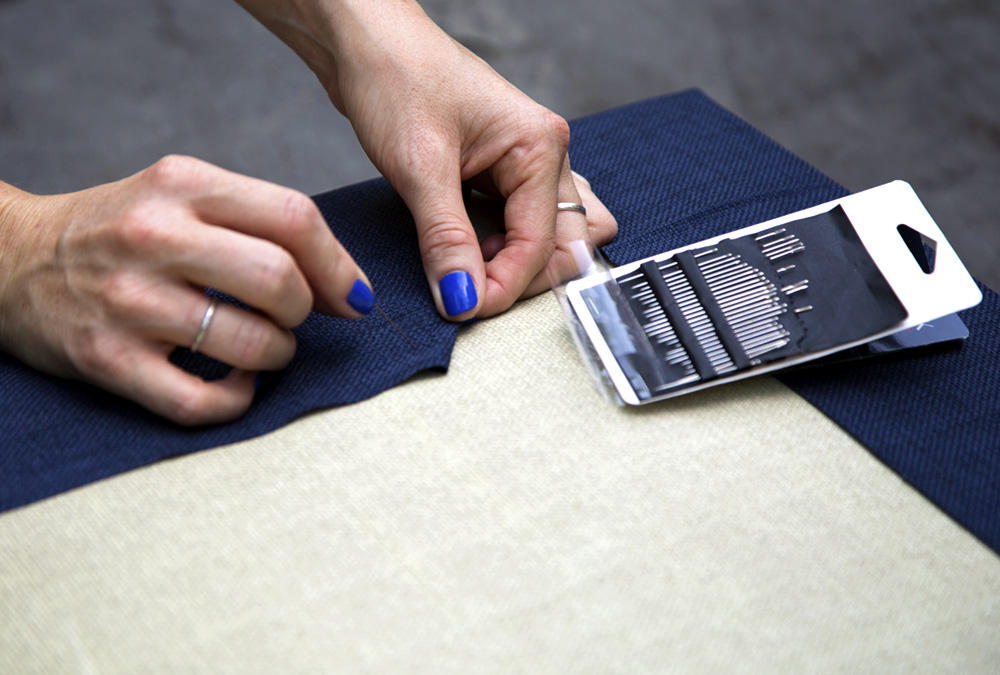
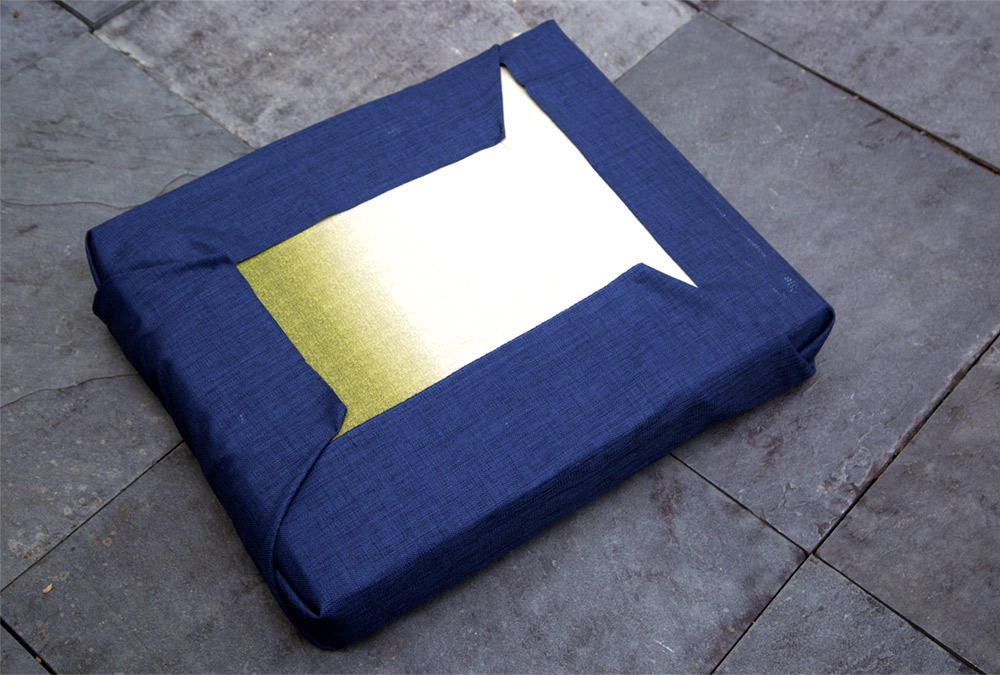
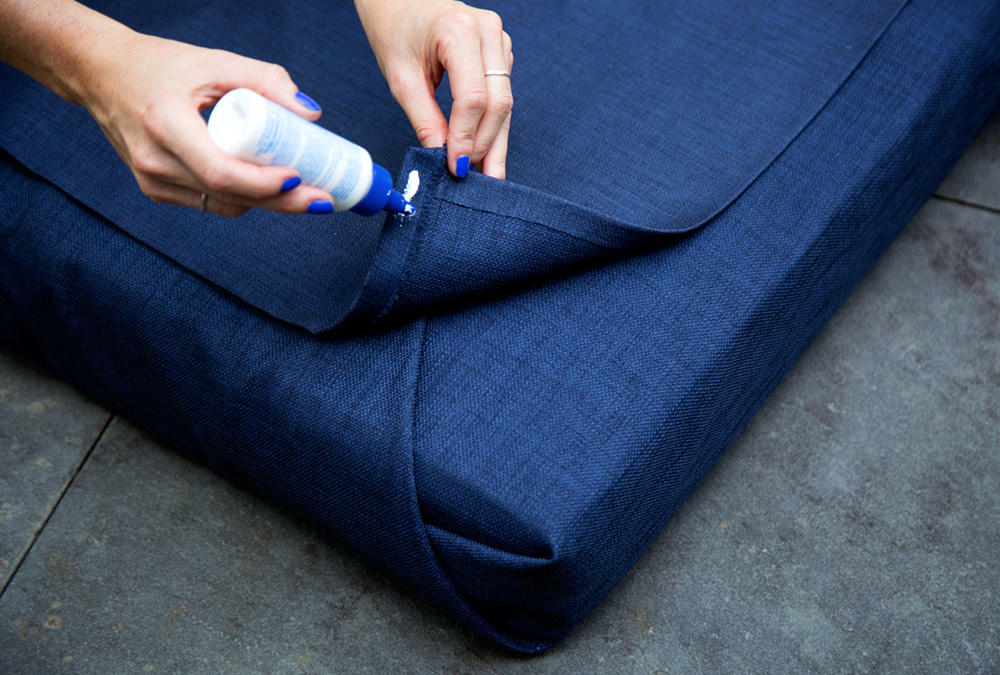
STEP FOUR:
Glue the shortest sides of the fabric to the back. Neatly fold the corners of the remaining sides and secure those to the back of the cushion with glue. Put weights on the glued areas, keeping the pins in, and let it dry overnight. Keep pins in the next day once glue is dry.
STEP FIVE:
With your excess fabric, cut a panel 1/2” shorter than each of your edges. For our seat, we cut the panel to 21″ x 24.5″.
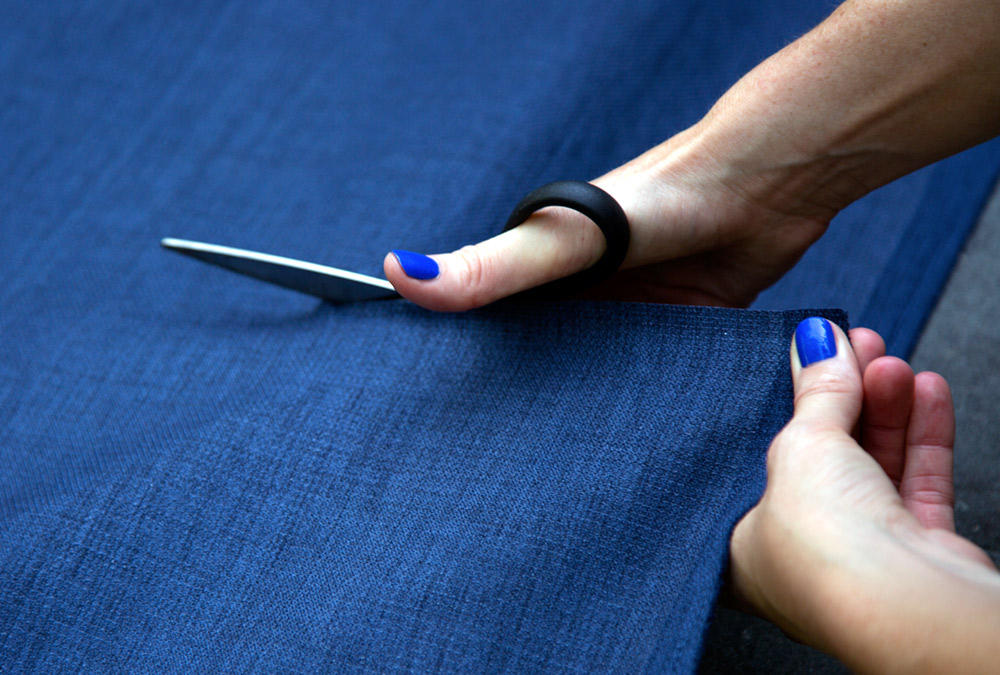
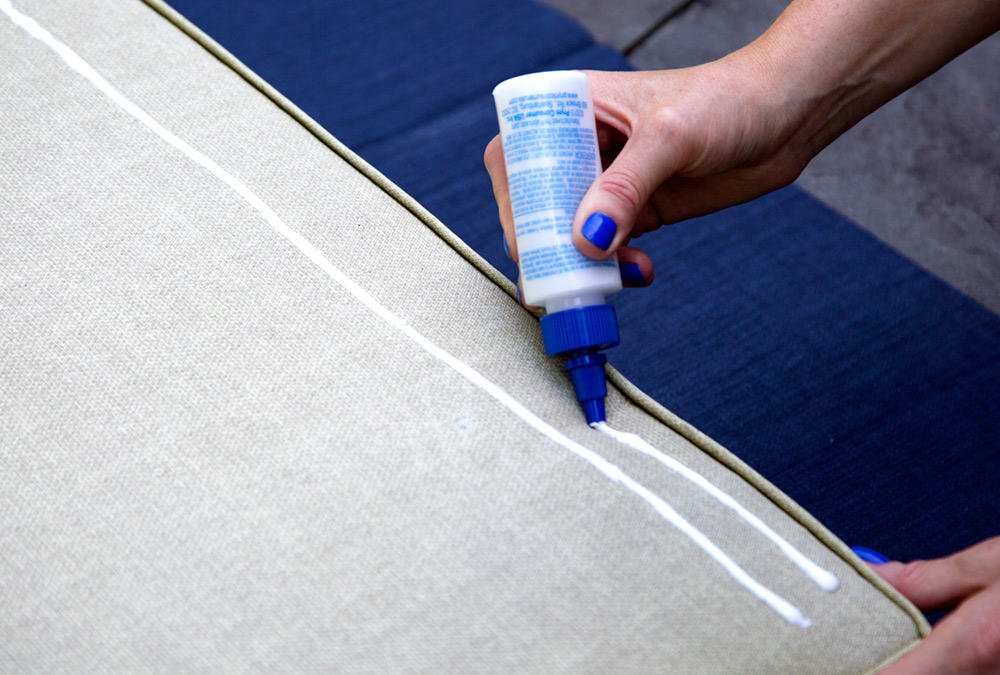
STEP SIX:
Iron a 1/2” hem. First iron and then glue into place.
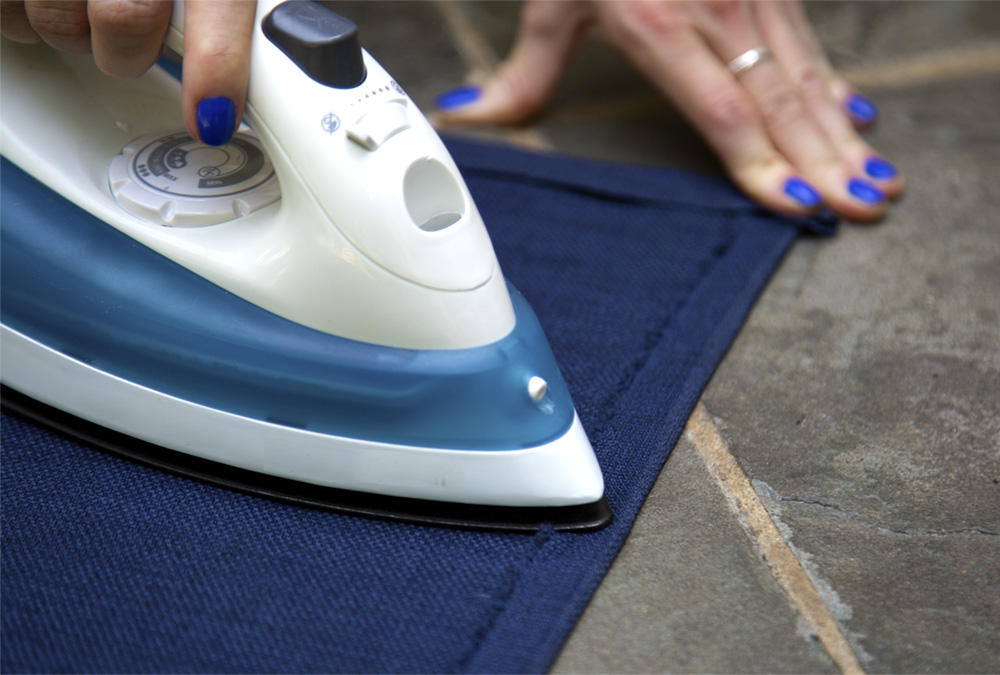
STEP SEVEN:
Pin the hemmed panel onto the backside of the cushion. It should cover the edges from step four. Glue into place. Add weights and let dry overnight again.

STEP EIGHT:
Enjoy your great outdoors in comfort.