

How to install vertical shiplap in an attic
Contributed by Made by Carli
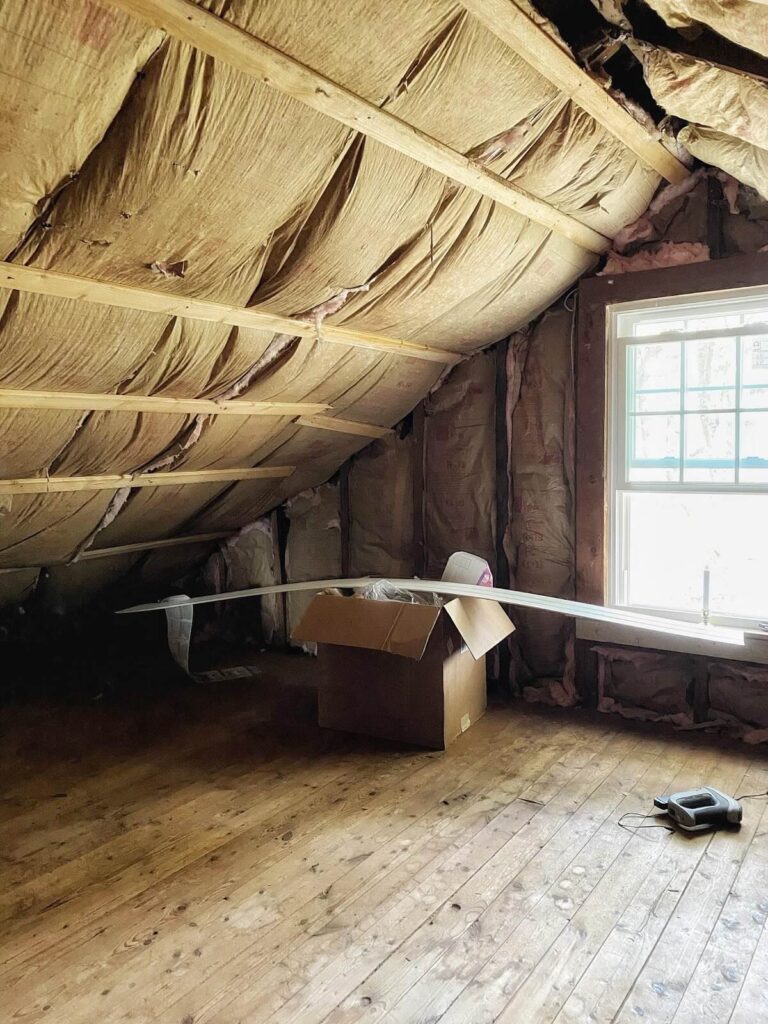
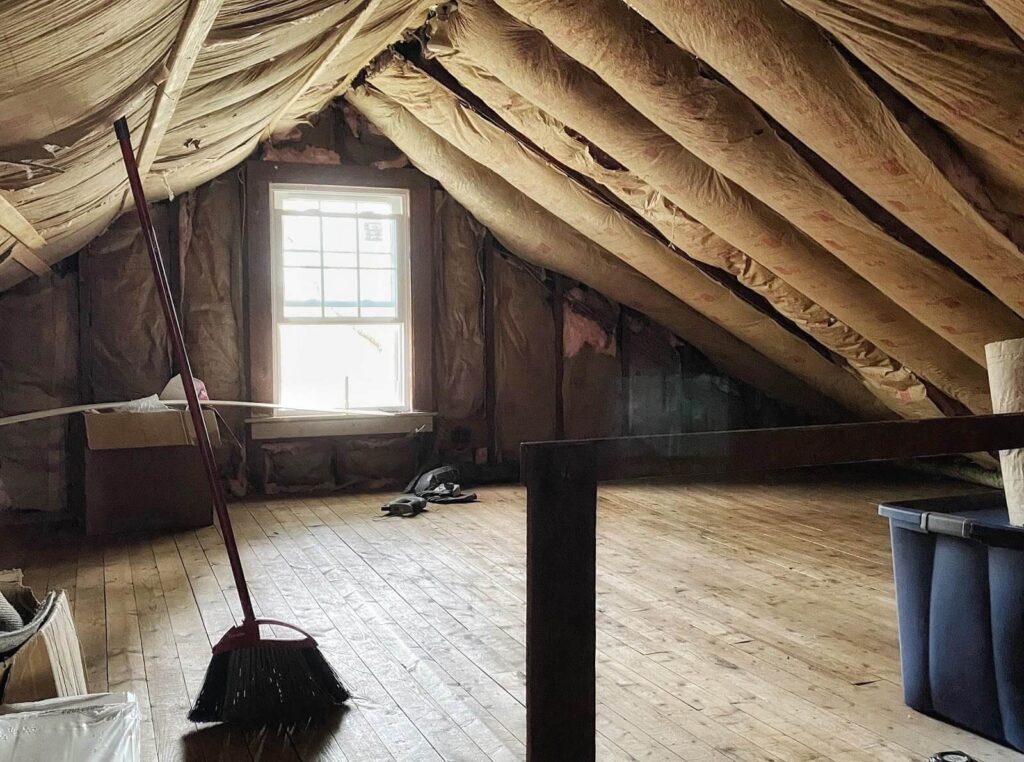
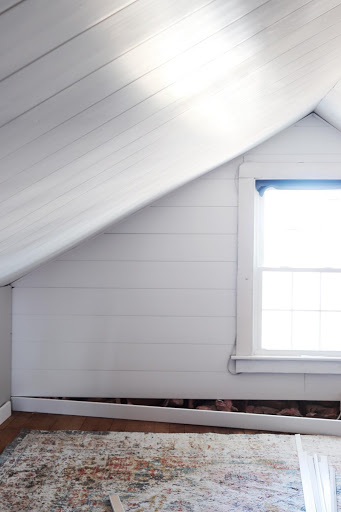
One of the easiest ways to update a formerly unfinished and unused space is to add shiplap. This formerly dark and dusty attic space got a major upgrade with Royal Building Products’ PVC Shiplap. Using Royal Building Products PVC Shiplap is so easy and it’s so versatile because it’s double sided which allows you the option of a flat-modern look, or the look of beadboard.
Materials:
- Stud Finder
- Nail Gun
- 2” Brad Nails
- Level
- Royal Building Products PVC Shiplap
- Royal Building Products Bead Trim
- Royal Building Products Cove moulding
- 1”x4” Royal Building Products PVC Trim board
- Spackle
- Miter Saw
- Tape measurer
- Contour tool (optional)
- Lattice
- Caulk
Decide on Layout.
To make our somewhat squatty attic seem a little larger we decided to install our shiplap pieces vertically on the sloped ceilings, rather than horizontally like you would typically see.
Using a stud finder, find and mark your studs/joists/or strapping. Royal PVC Shiplap should not be installed directly to studs, it should be installed over drywall as it is not fire rated.
Measure:
Measure to find the length of the shiplap needed. Using your miter saw, cut your shiplap planks to size.
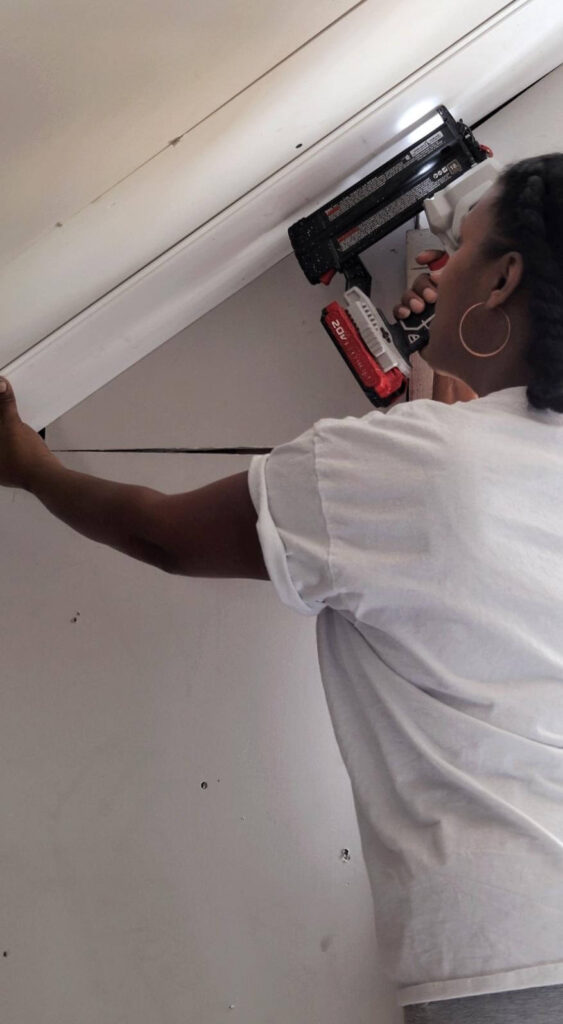
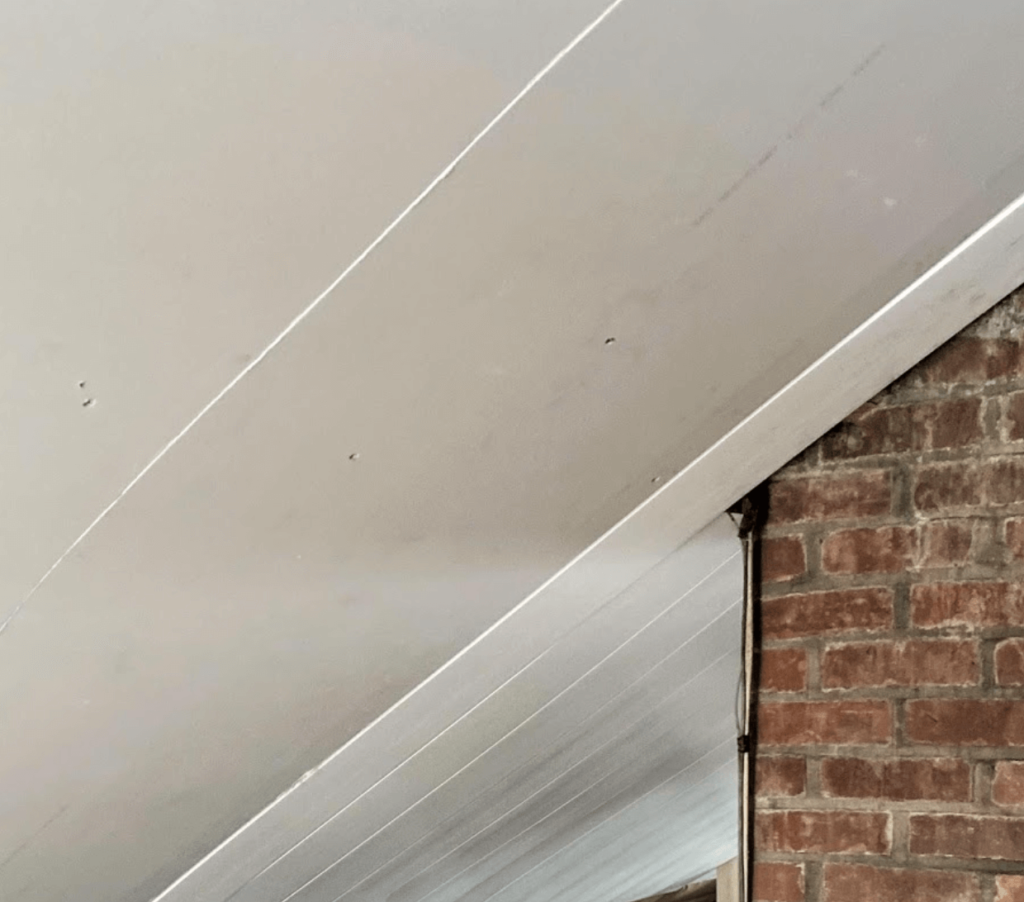
We began on the left side of the room by lining the shiplap up against the non sloped wall, using our level to ensure that it was plumb. This step is very important because if the first plank is not plumb the rest will be off as well. Using our nail gun, we simply nailed the plank from top to bottom attaching it to the joists.
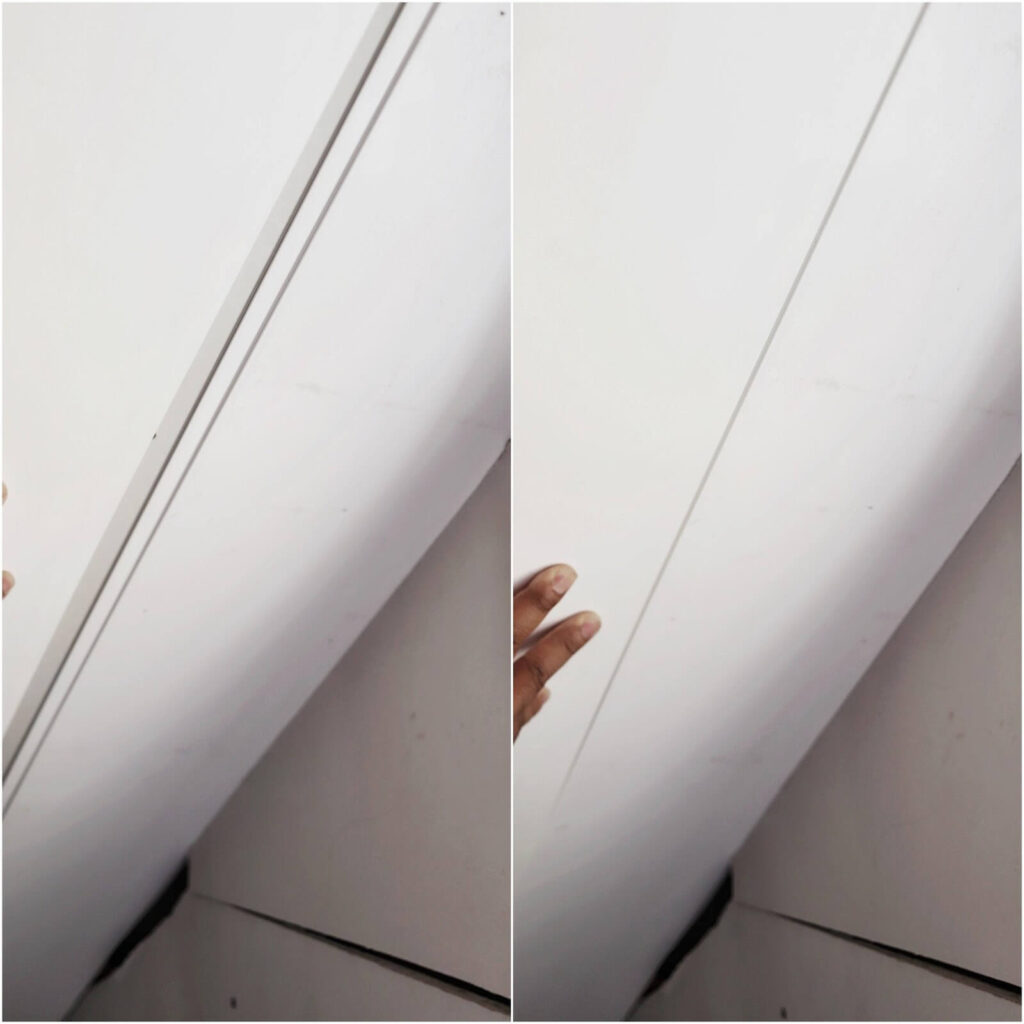
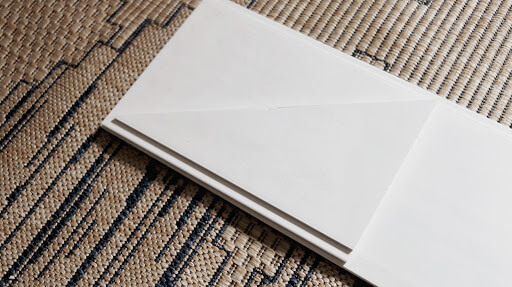
Lock in the second plank so that it overlaps the other and fits snugly into place, and nail it to the joist. This part of the installation goes super fast (the first one usually takes the longest.)
Repeat this same process on the other side.
For the end walls, we began our horizontal shiplap installation, ensuring the planks were level, and attaching them to the studs with the nail gun.
To cut the angled end pieces we created a template on a scrap piece of Shiplap from a piece of poster board, which helped save us a ton of guesswork and frustration (foam board would work wonderfully too).
Obstacles
If you come into any obstacles (ceiling boxes, etc), a contour tool is your best friend. Just align the tool around the obstacle, and transfer the shape onto your shiplap plank. Use a jigsaw to cut it out, and you’ll have a perfect fit.
Trim
Seams: Royal has a wide variety of coordinating trim options. For the corners where the sloped planks meet the horizontal planks, I chose PVC cove molding. And caulked any visible seams one the trim was installed.
Floor: I used a 1×4 trim board for the baseboard and finished it with a piece of cove molding at the base, to cover any gaps from the old uneven floors.
Peak: At the peak of the attic, we nailed a piece of PVC lattice to cover the gap.
Using Royal Building Products shiplap to finish an attic is a great alternative to finished drywall for the DIY homeowner. It makes a great impact in half the time and mess of finishing an attic with drywall.