


Upgrade Your Interior of Contemporary Craftsman Trim
Upgrading the look of your home’s interior doesn’t have to be complicated, and it can even be easy. Something as simple as changing your trim can do wonders for your home. Taking out old and worn-out trim and moulding and replacing it with something new and contemporary can make your whole interior feel fresh and new.
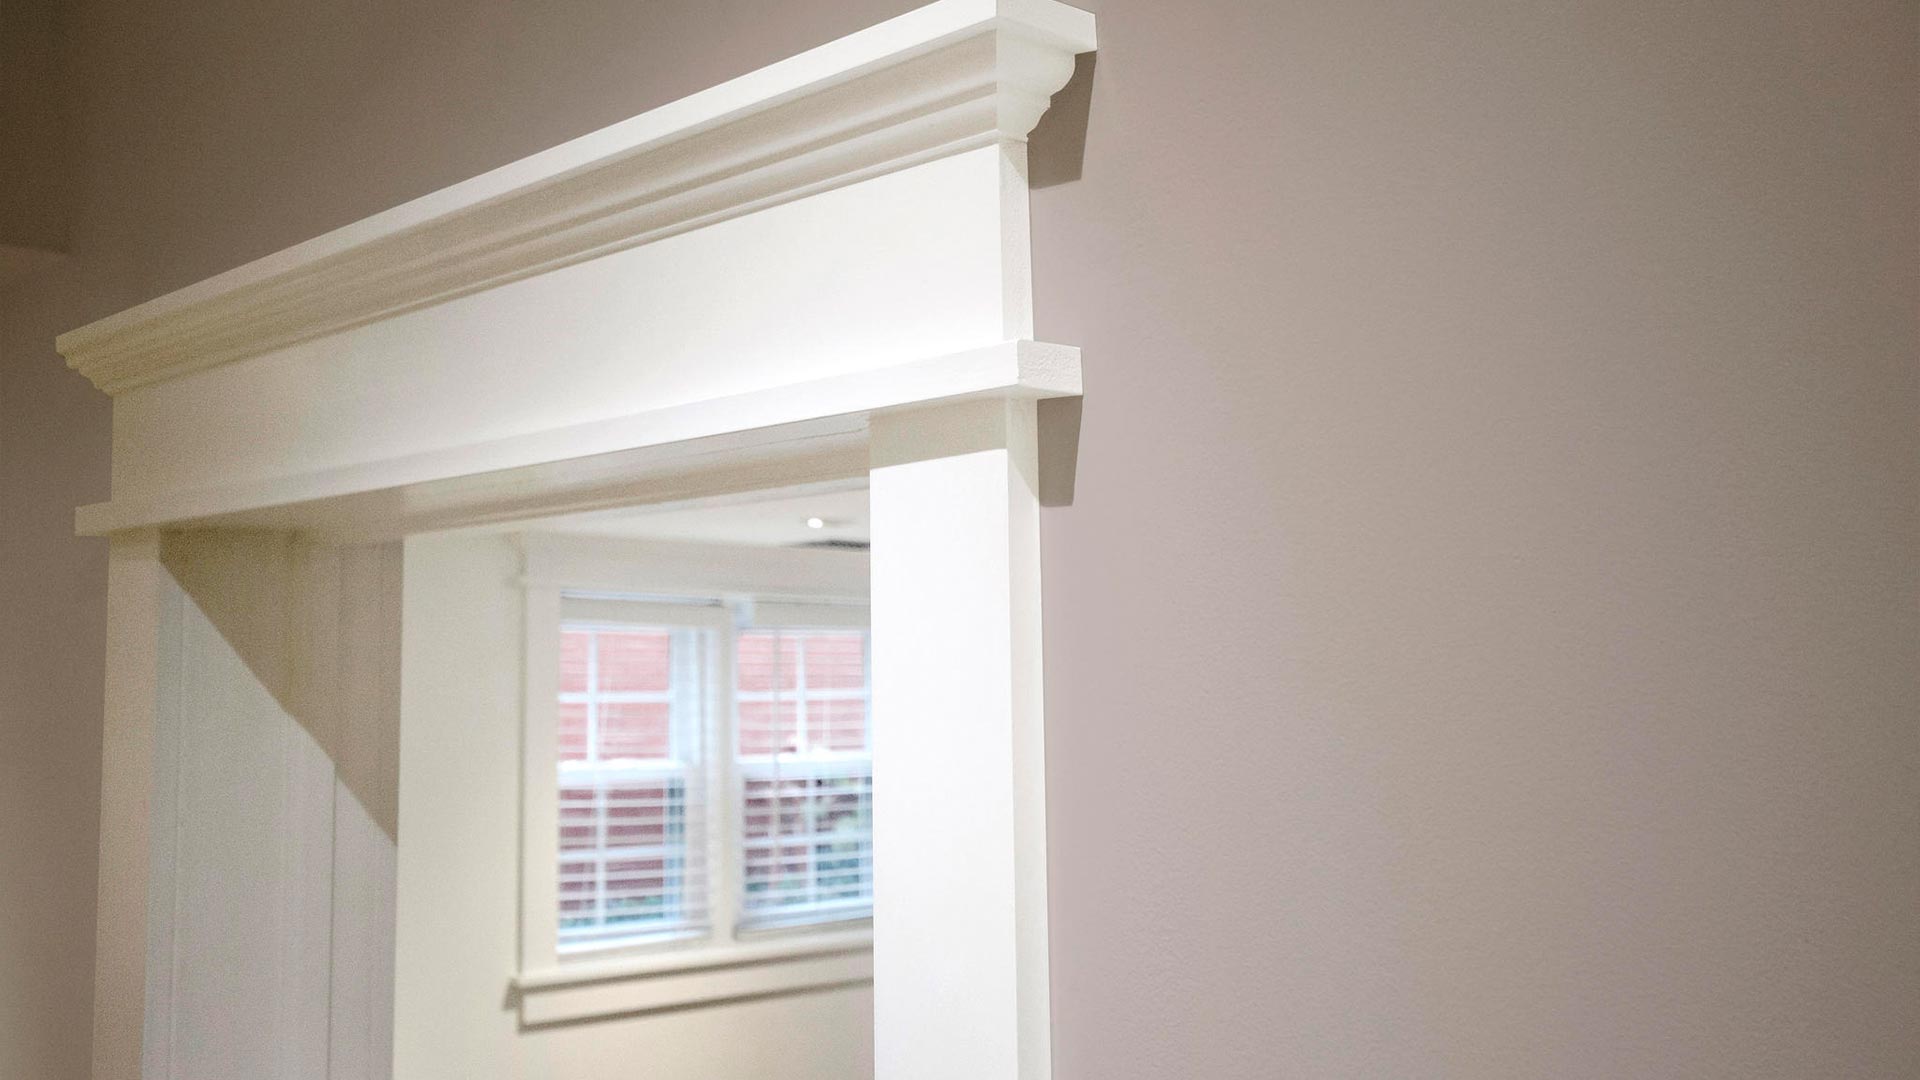
Royal® PVC trim adds the perfect long-lasting and stylish finishing touches to your interior. This contemporary craftsman-style trim is sleek, modern and refreshing for any interior space. The clean and simple lines of craftsman style will add a contemporary appeal to your home. Installing your own contemporary craftsman trim is also an easy DIY project that will transform the interior of your home.
This intermediate level project should take you about one day, depending on how much space you are re-trimming, and cost approximately $200. Here’s how to do it.
What You’ll Need
Materials
- Finish Nails
- PVC Trimboard (see project guide for specific sizes based on project type!)
- PVC Cement
- Paint
- CA Glue
- Masking Tape
- Lightweight Spackle
Tools
- Hearing Protection
- Safety Glasses
- Hammer
- Caulk Gun
- Tape Measure
- Power Miter Saw
- Scribing Tool
- Stud Finder
- Table Saw
- HVLP Spray Gun
Step by Step
1. Pre-Cut Trim
Begin by measuring and pre-cutting the trim. While this upfront work is a little unconventional, it will pay off during the final installation and make the painting process easier. Temporarily attach the scrap casing to simulate the final install on the window to calculate the sill length. Then, tack up the temporary casing and measure for the final header length. Don’t forget to add the reveal of 1/4”. For the bottom of the door casing, or plinth detail, cut to 8 1/2” and add the fillet detail to the top. For the baseboards, use the measurements from take-off drawings to pre-cut and assemble the trim to the required lengths, leaving about 1/2’ of extra space for removal during the final installation. Casings should be pre-cut to required lengths, also leaving about 1/2’ extra to be removed during the final installation. Cut the head casing to the appropriate length, which will drive the measurements for the fillets and caps, and assemble the head casings.
Use a PVC cement and CA glue combination instead of using nails and screws. If you choose to use fasteners, cover the holes with light spackle and sand prior to painting.
2. Painting
There are good, better, and best scenarios for applying paint to PVC trim. Choose which painting process you feel more comfortable with according to your own skills and environmental circumstances.
Brushing is a good way to apply paint to PVC trim. If you choose to brush, the results will vary according to your atmospheric conditions. Rapid drying paint will tend to leave brush mark texture on the finished product.
Brushing and rolling is the better option. The addition of the roller will help to provide a smoother texture, even if the brush marks will be slightly visible in corners.
Spraying is the best option for painting PVC trim. This option offers the best finished product overall. You can use an HVLP gravity feed cup with a 2.2 tip side. If you have access to an air compressor and an outdoor area to paint, this will produce the best finish. Always try to spray paint outdoors for proper ventilation. Depending on how your application goes, you may want to let your trim dry completely for a couple of hours before applying another coat of paint. As always, read the manufacturer’s recommendations before beginning to apply the paint.
3. Install Plinth & Casing
To apply the plinth, begin by applying adhesive to the back of the block position on the wall or door jamb. Toe-screw a trim head screw at the top back portion of the block that’s hidden by the casing.
For the casing application, begin by measuring the casing by setting it on top of the plinth and transferring the reveal mark. Cut accordingly. Pin both ends of the casing and apply glue to the back trim position on the wall, align with the reveal mark, and tap the top of the casing to set pins into place with a hammer. Toe-screw a trim head screw at the top back portion of the block hidden by the head casing. To pin the casing, drive 2” finish nails into the ends of the trim while still leaving 3/4” exposed. Clip the nails around 3/16” from the substrate. The remaining nail will act as a pin to lock the mating trim.
4. Install Stool & Apron / Casing
For Head Assembly Application, apply some adhesive to the back of the assembled head casing. Position it atop the casing and align the end of the head base and outside casing. Lightly tap the header to engage the pins and lock them into place. Align the casing and the end of the head casing.
For the stool and apron application, measure and notch the stool to rest inside the window opening. The stool should extend beyond the casing. The apron should be cut to align with the casing. Apply glue to the back of trims and position on the wall and align with temporary casing. You can use clamps to maintain position as the adhesive set.
For Pining the Casing, drive 2” finish nails into the ends of the trim, leaving ¾” exposed. Clip the nails about 3/16” from the substrate. The remaining nail will act as a pin to lock the casing into the stool.
5. Install Base
For Base Application, position the base against the wall and plinth to establish a proper length. Cut it to size, apply adhesive, and press into place. If additional holding is required, toe-screw trim head screws into the top of the profile. The cap will conceal the fasteners. Place the cap atop the base and mark length, and return notch. Cut, glue and press into place!
And just like that, you’ve upgraded your interior with contemporary craftsman trim. For more information and useful details on specific trim sizes, download the helpful guide from BuildRoyalDIY.com.