

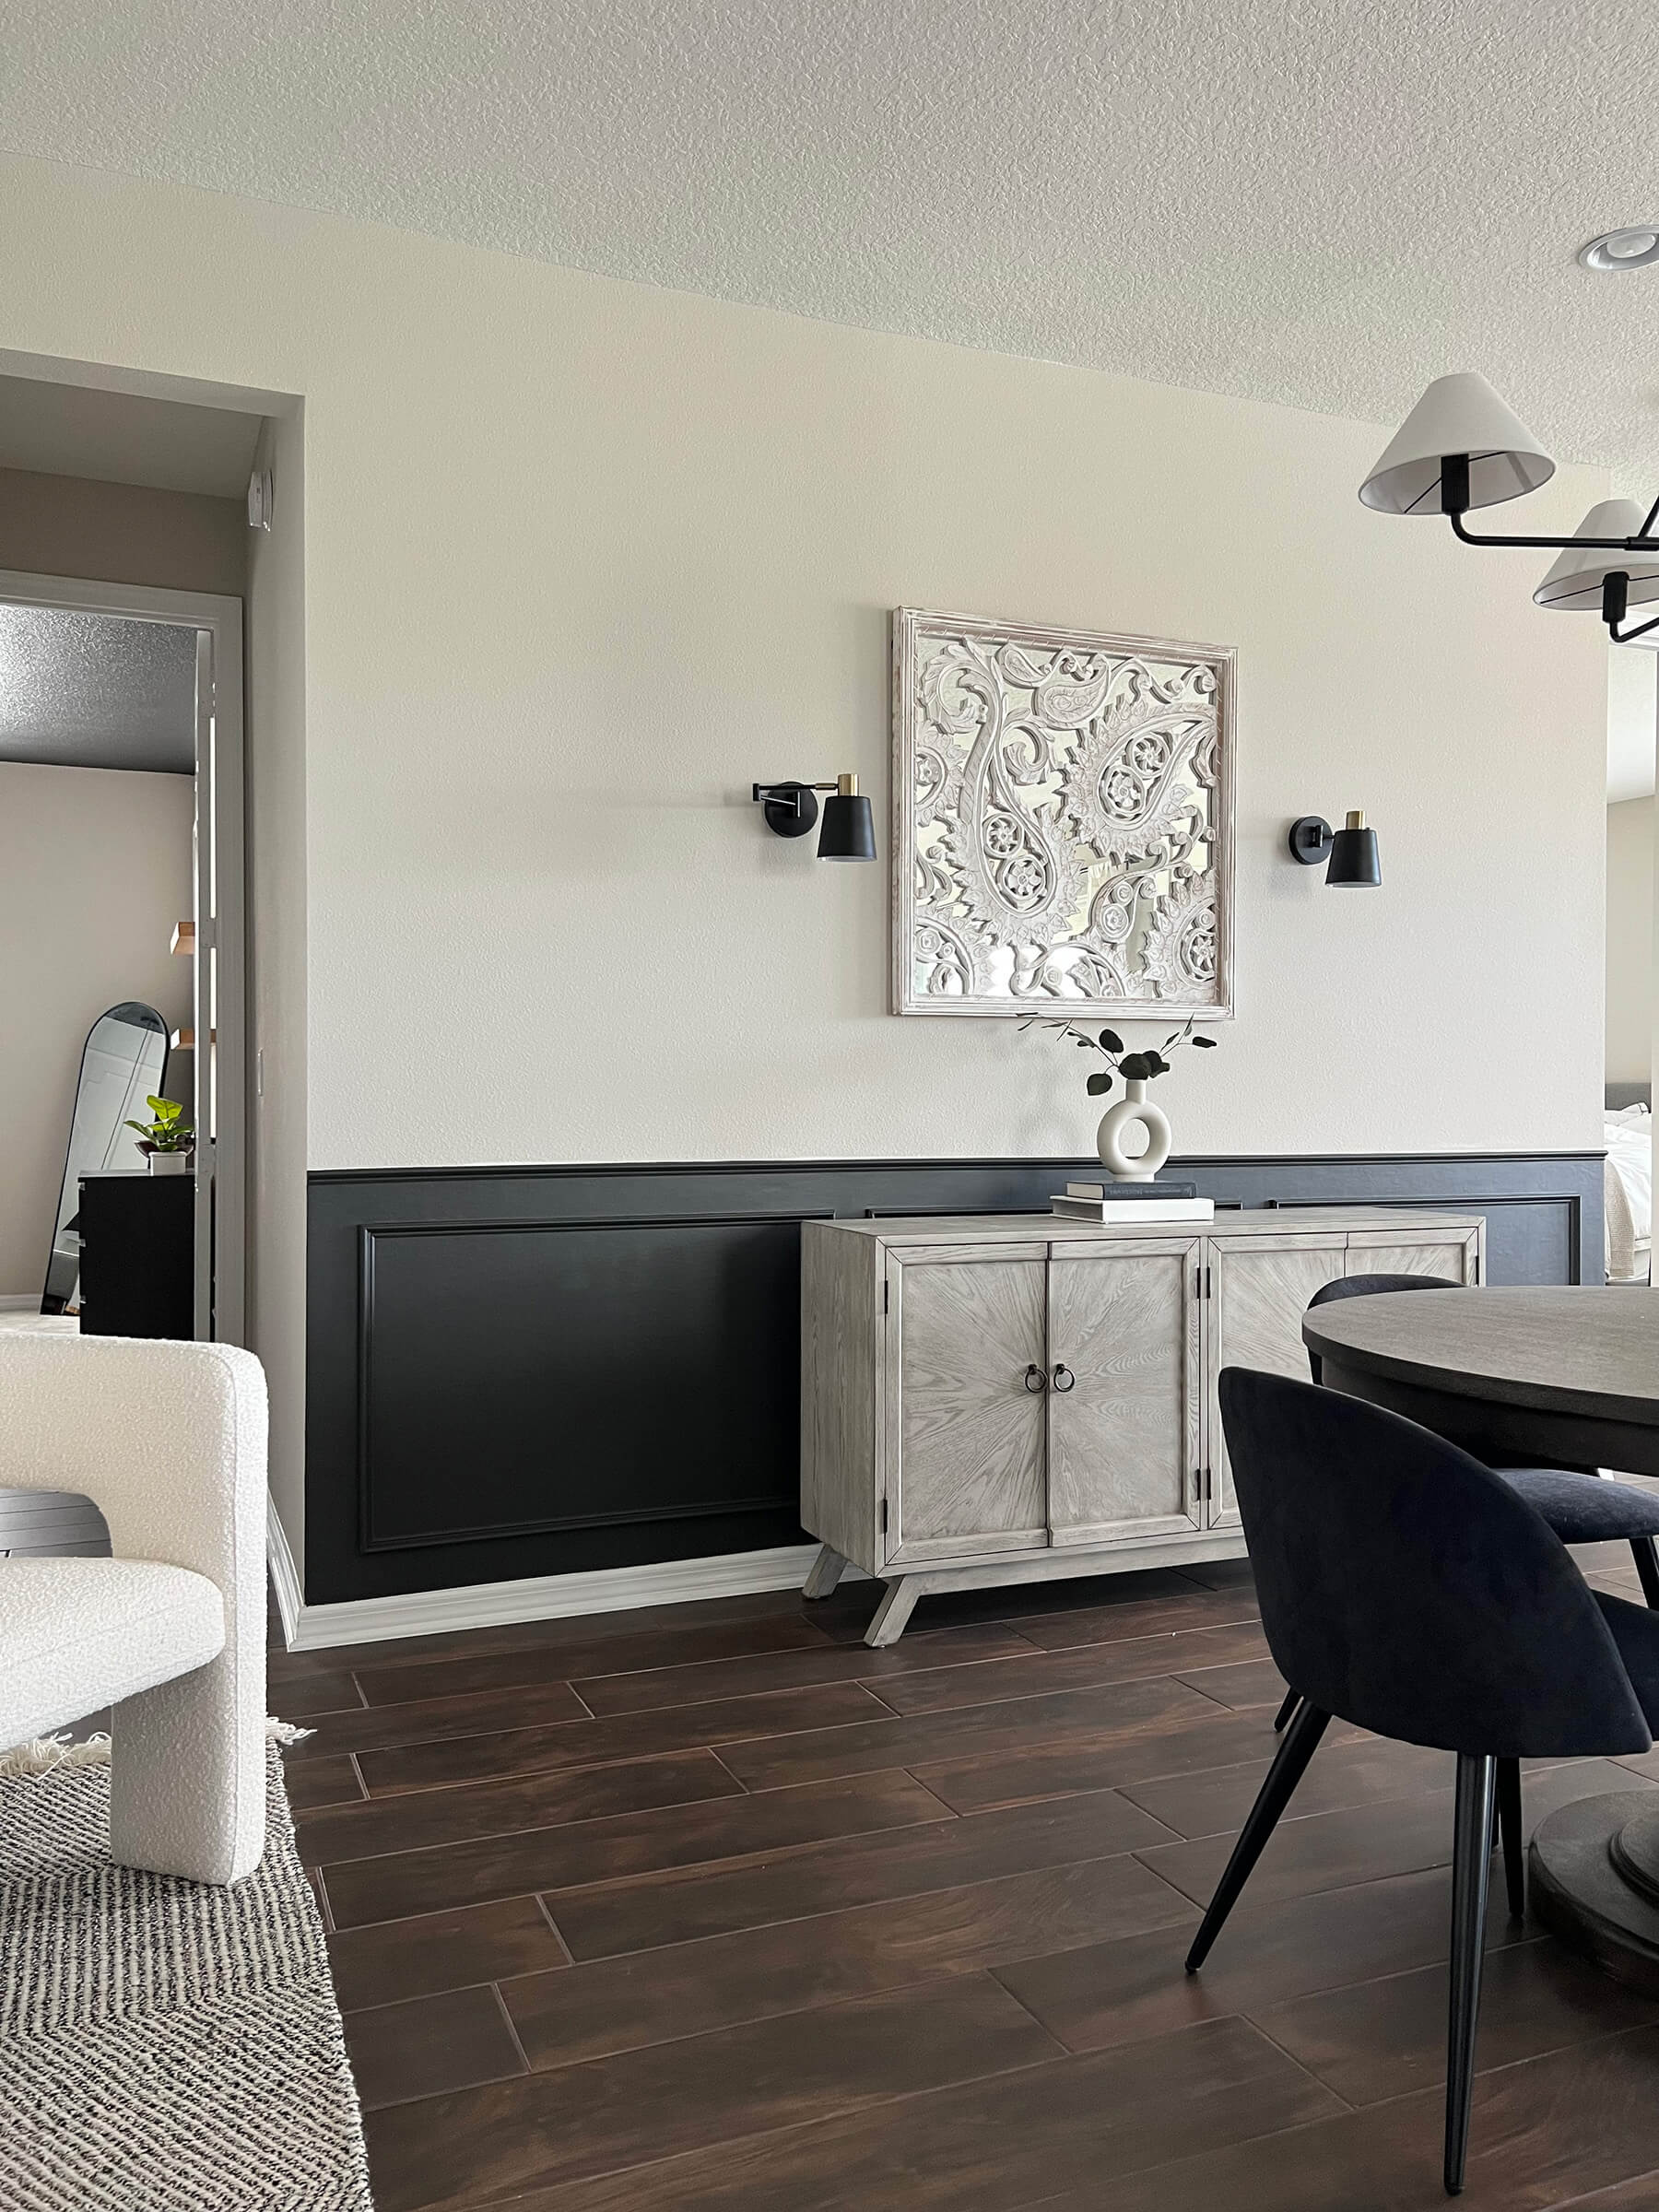
How to Install Wainscoting Trim to Your Textured Walls
Contributed by: Leyla / Living with Ley
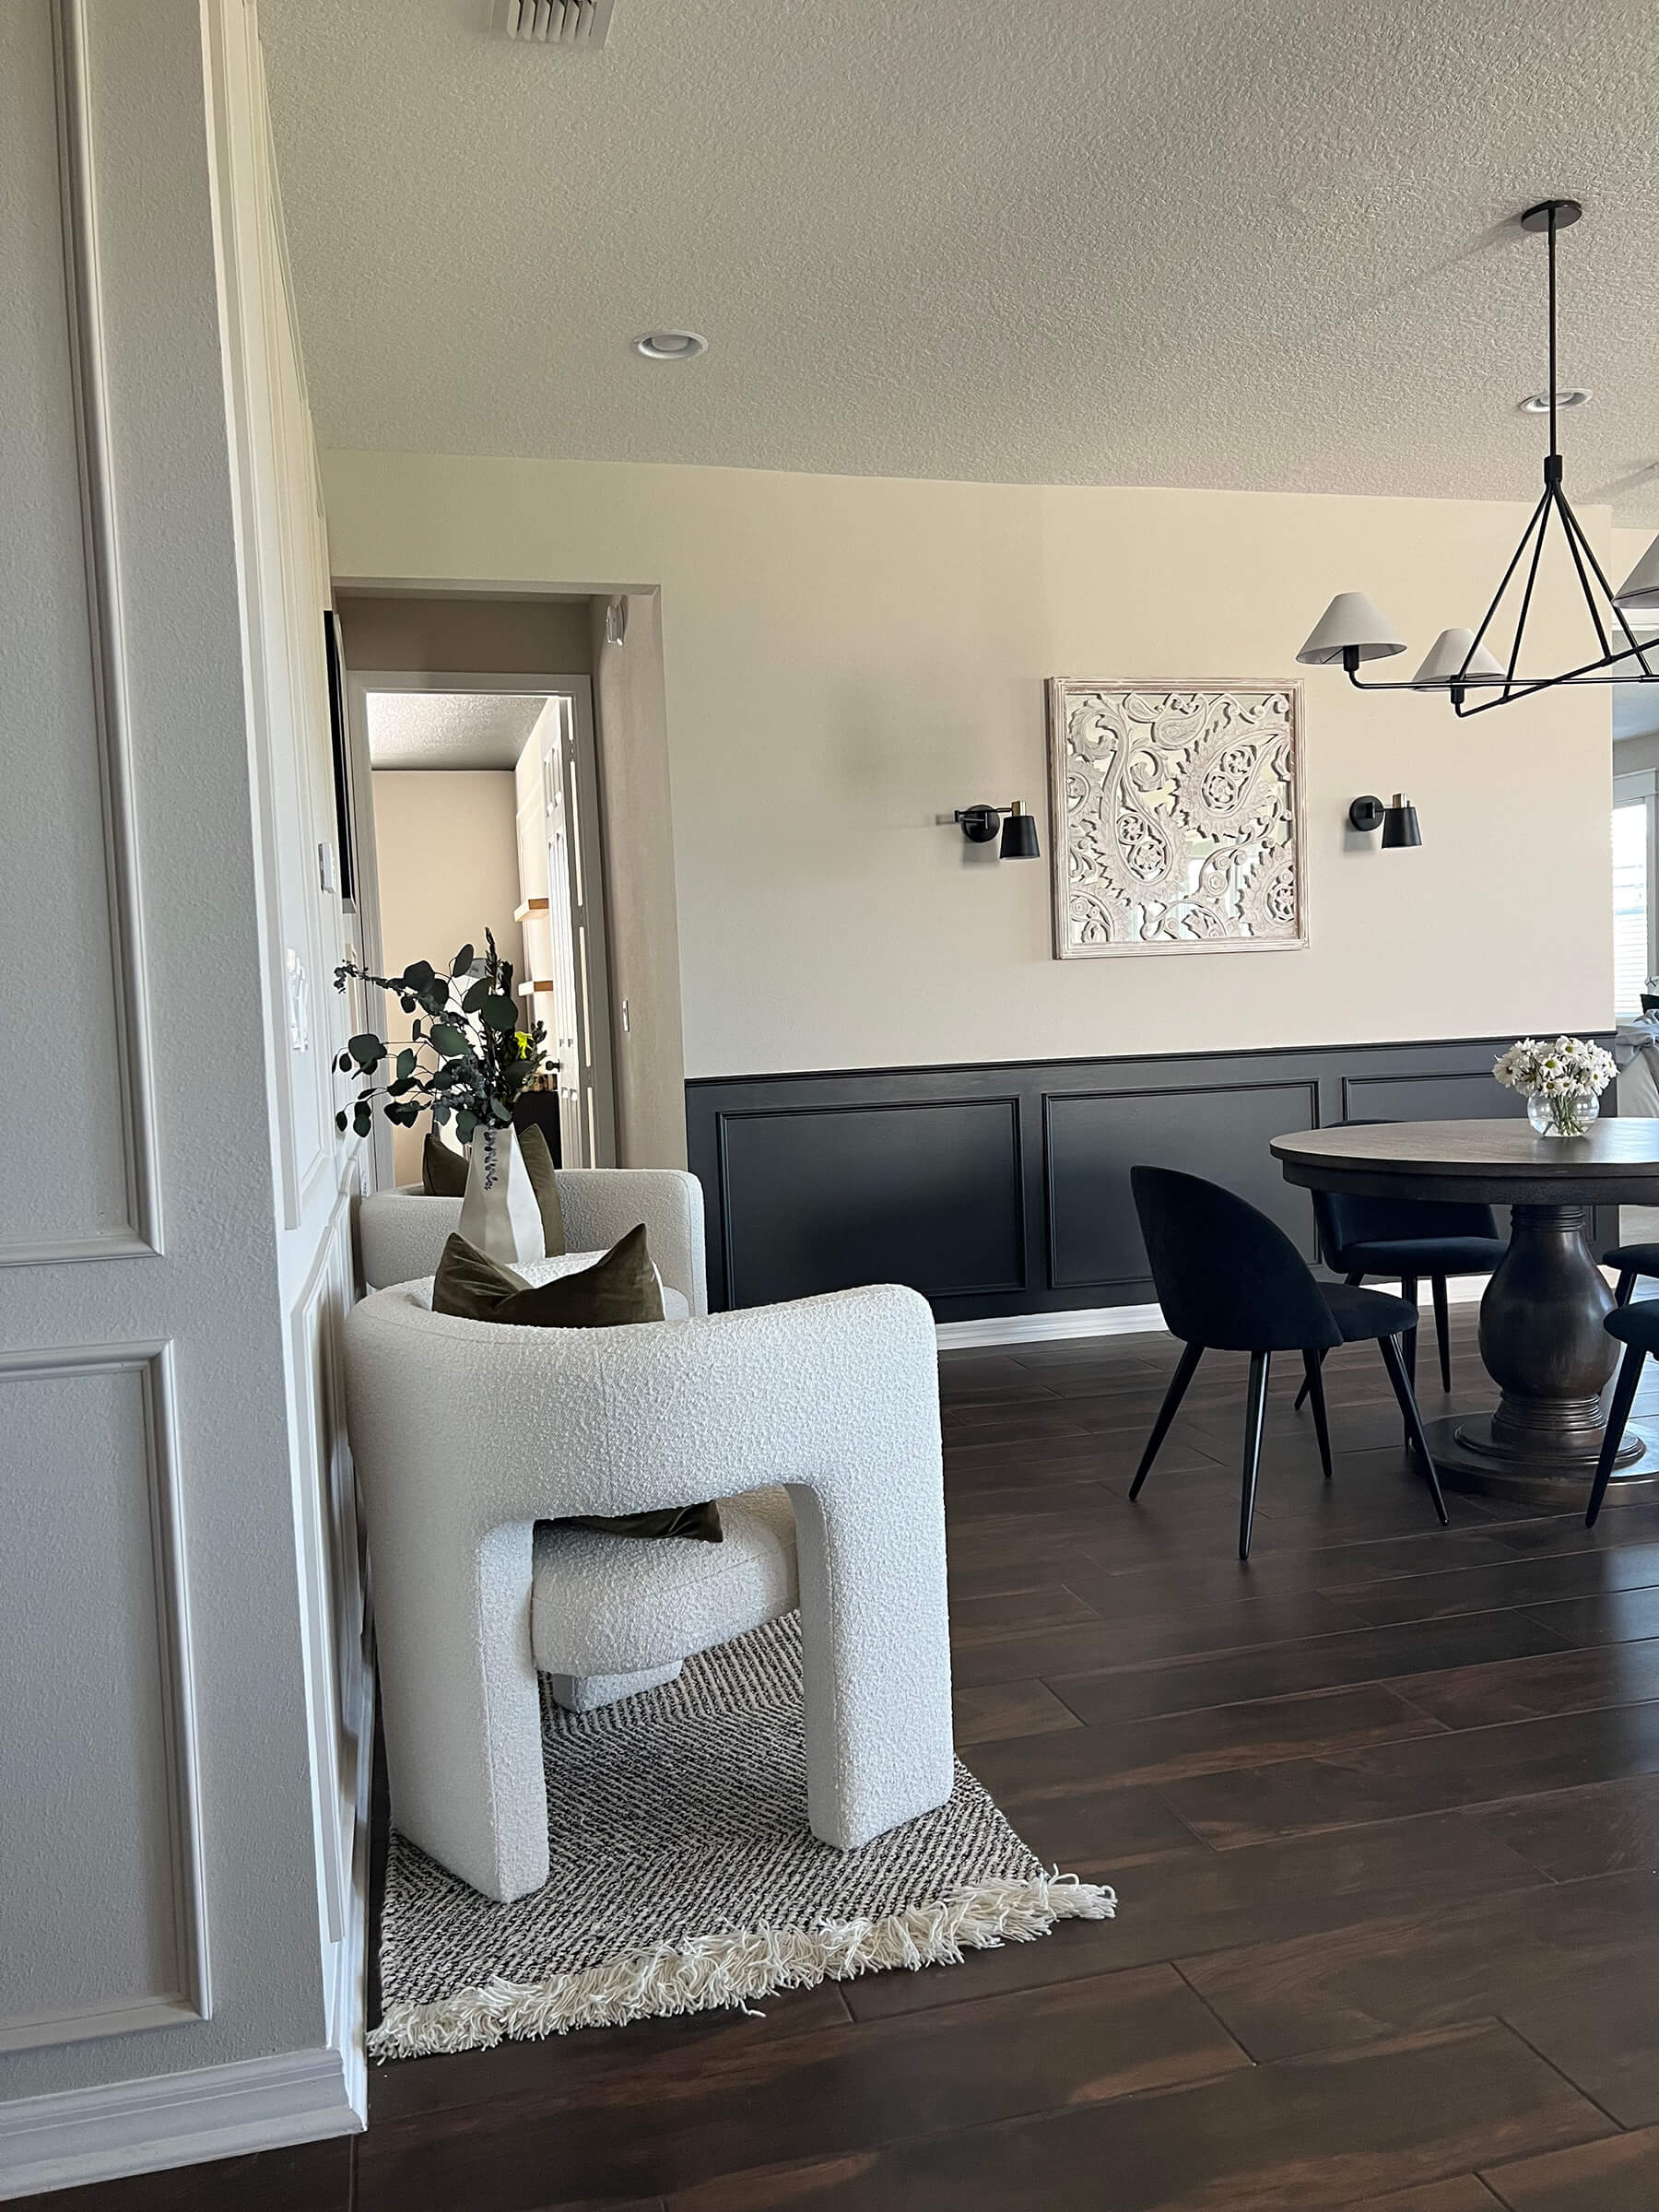
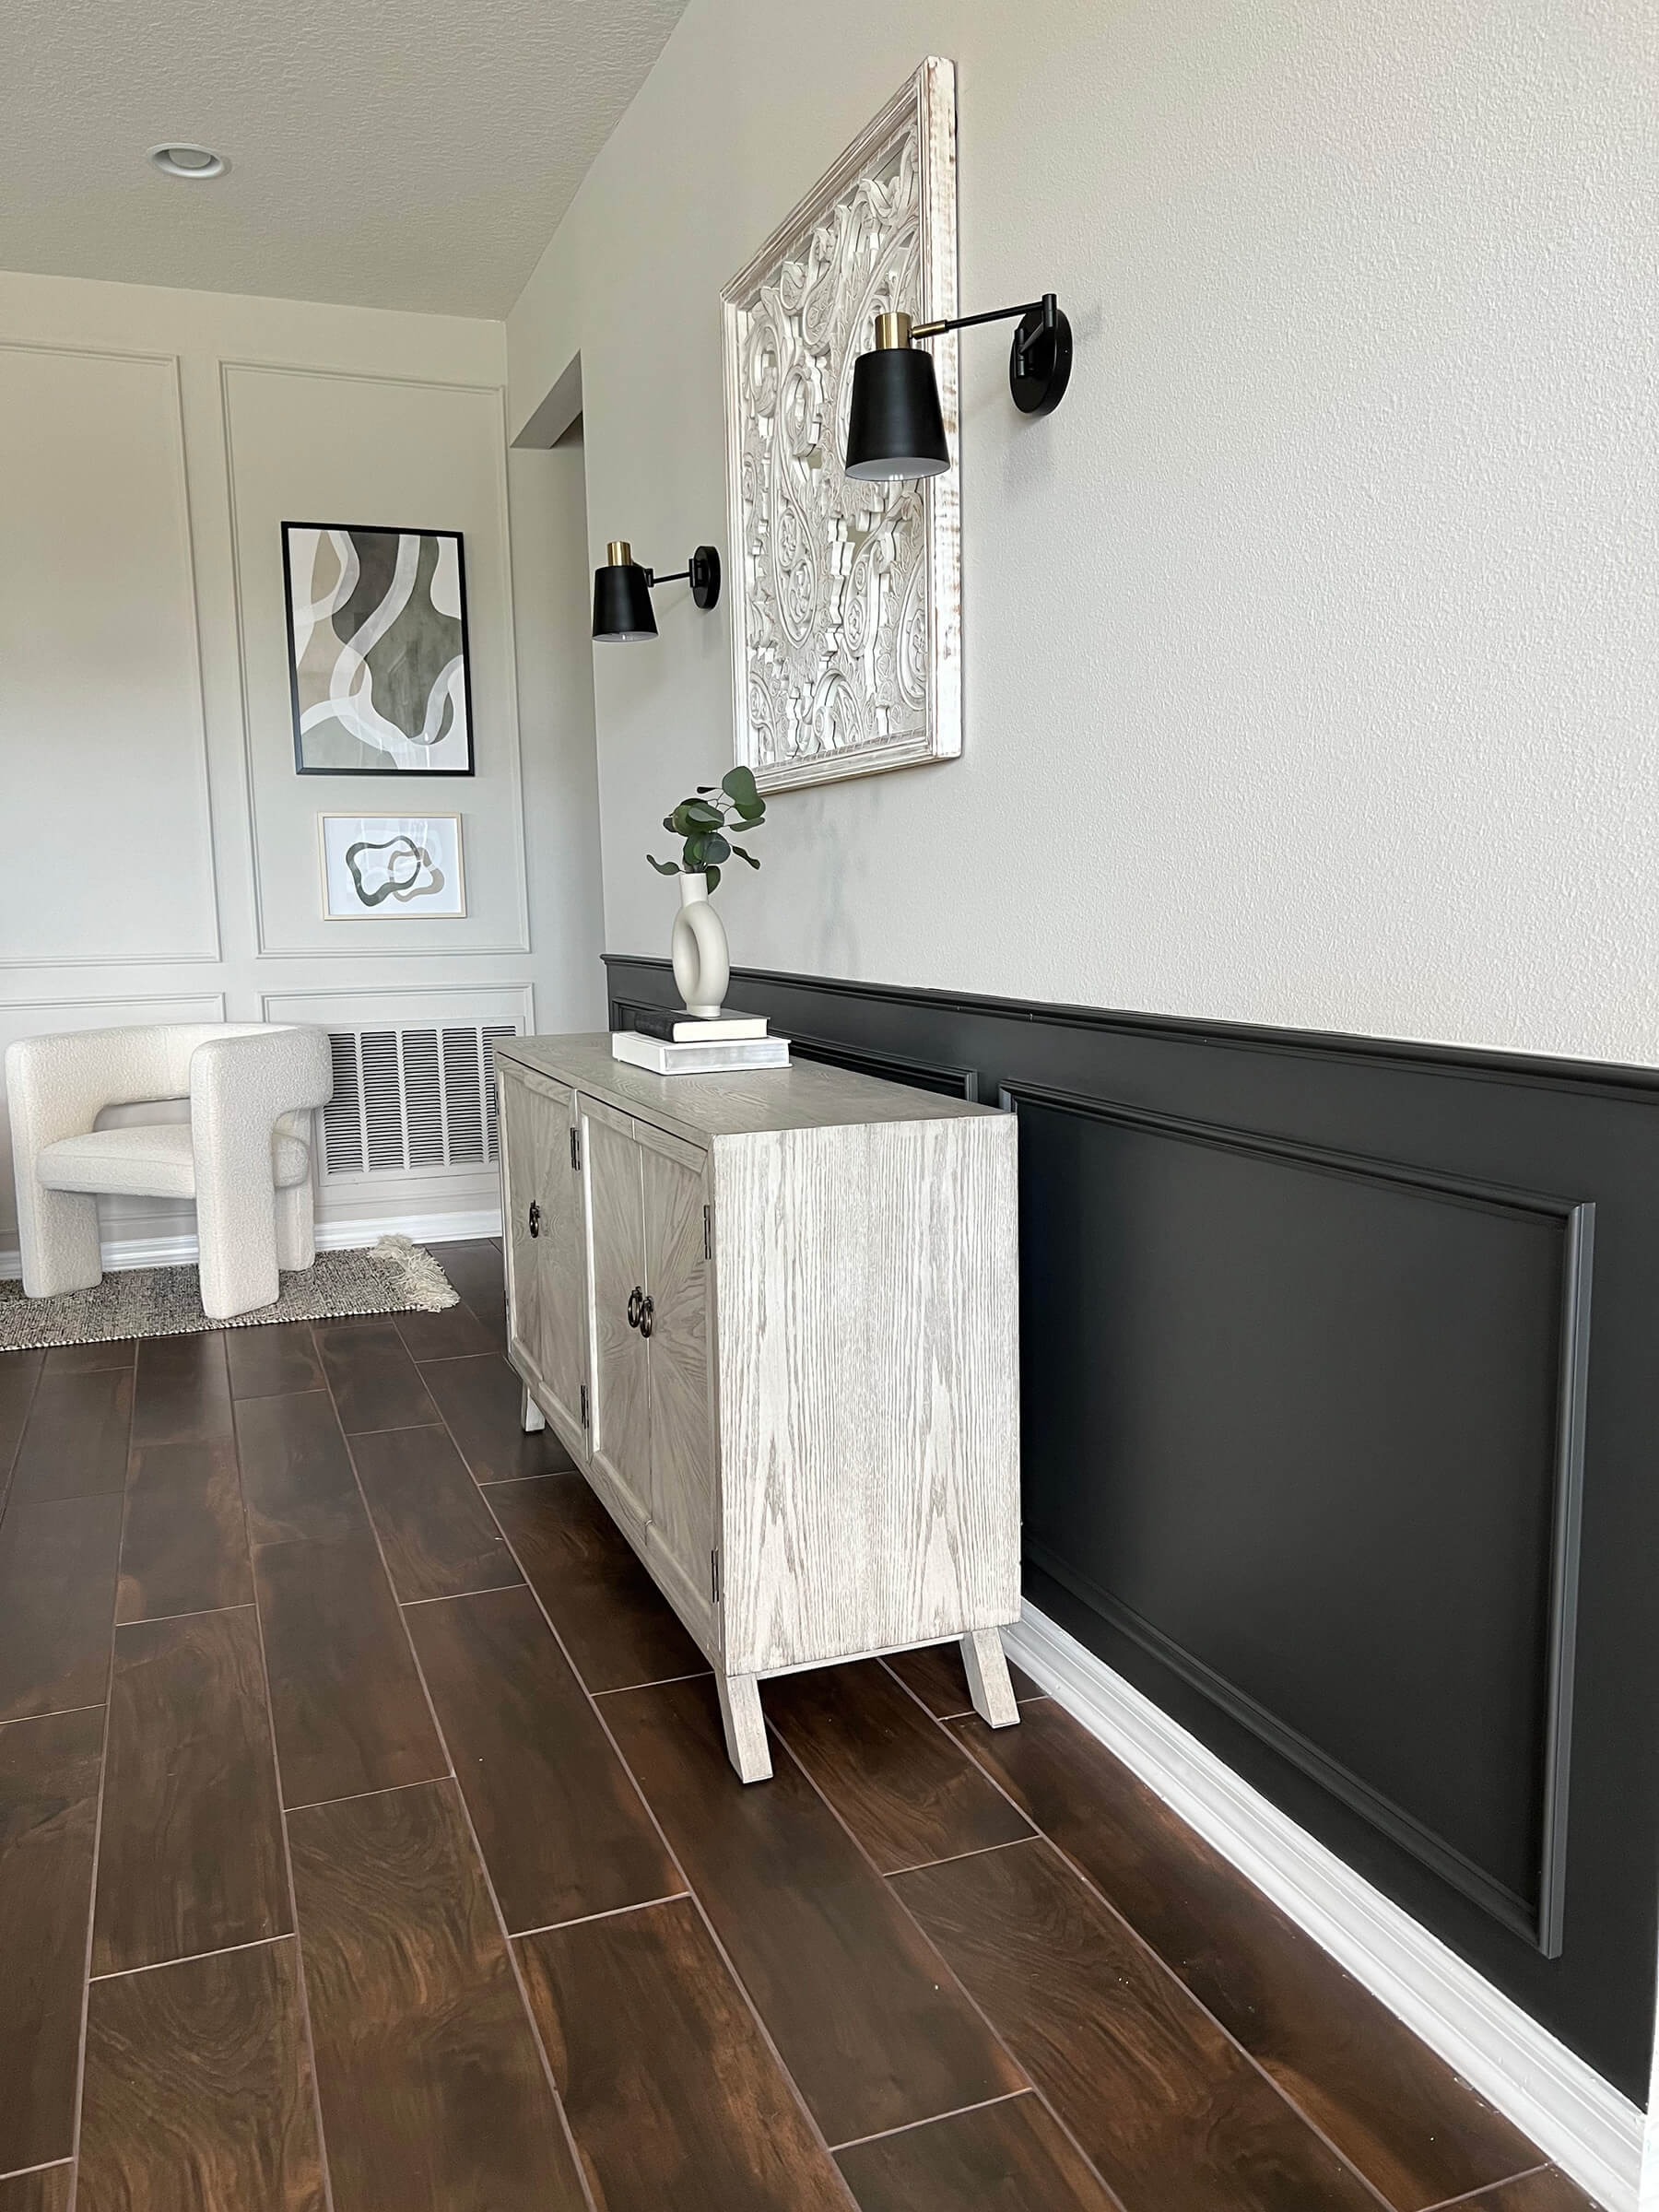
Wainscoting is a timeless form of decorative paneling that can include box moulding, beadboard or even board & batten designs. It adds tremendous character and visual interest to your space. For this project, we used Royal® Trim & Mouldings PVC basecap moulding trim. I absolutely love this product because the profile is the perfect hybrid of traditional and modern aesthetics, and it is also made out of PVC material so it’s really light, flexible and easy to work with.
Materials:
- PVC basecap moulding
- Joint compound
- 22-in squeegee
- 18-gauge brad mails
- Brad nailer
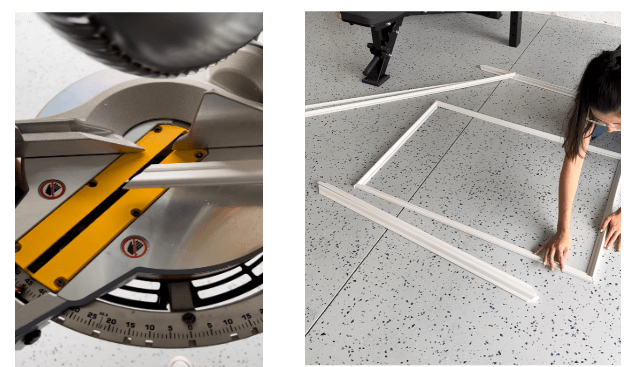
- Miter saw or handheld miter shears (to make the 45-degree angle cuts)
- Tape measure
- Level
- Caulk
Step 1: Prep your area and plan your design
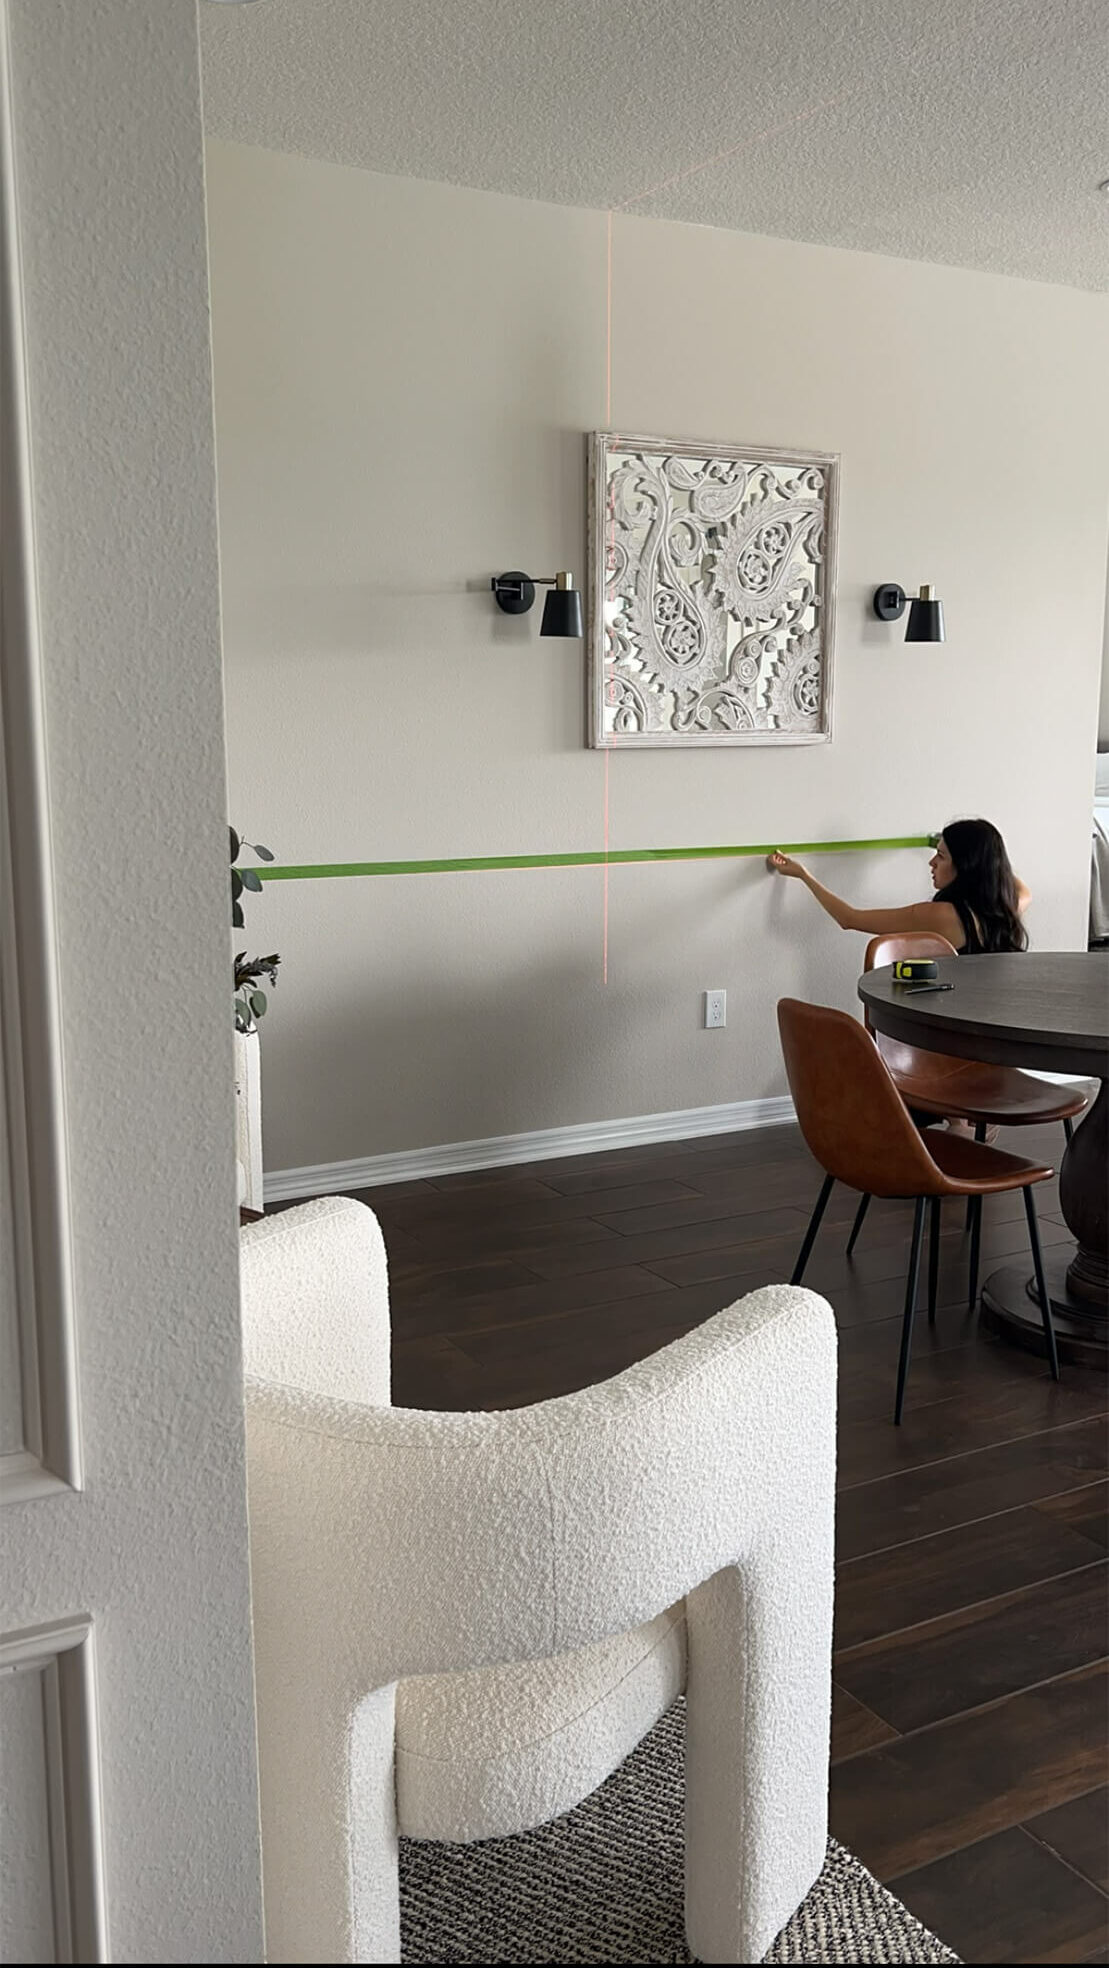
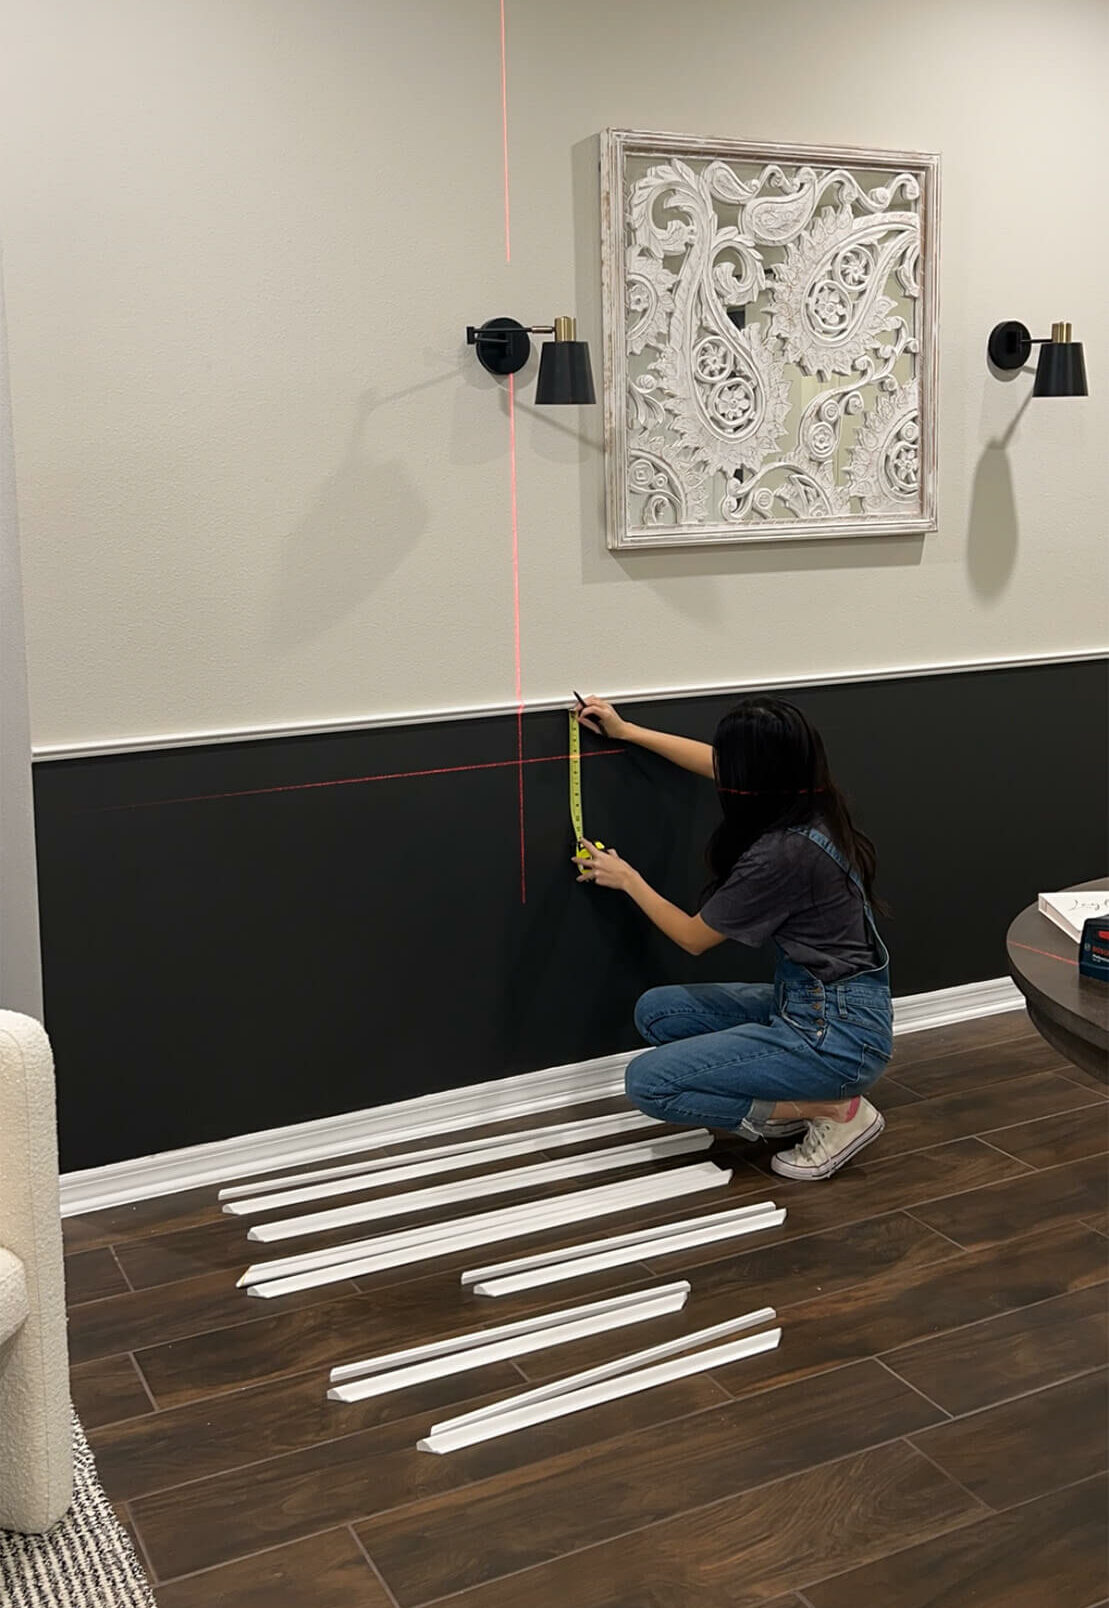
Start taking your measurements of the wall, and decide on how many boxes you want and where they will fit. I typically like to design three boxes per wall, but sometimes with the layout of the room and space on the wall, fewer or more are required. An easy tip is to use painter’s tape to help visualize your boxes. You can easily play around with spacing and how many boxes will fit before you make any permanent cuts.
For my space, my ceilings are 9 feet, and my wall is 135 inches. I started my chair rail at 36 inches to match the rest of my house and made my boxes 42 inches each. This allowed me 4-inch gaps on either side from the wall, 4-inch gaps from the chair rail to the top of the boxes, and 3.5-inch gaps between boxes.
Step 2: Skim coat your walls to remove heavy texture
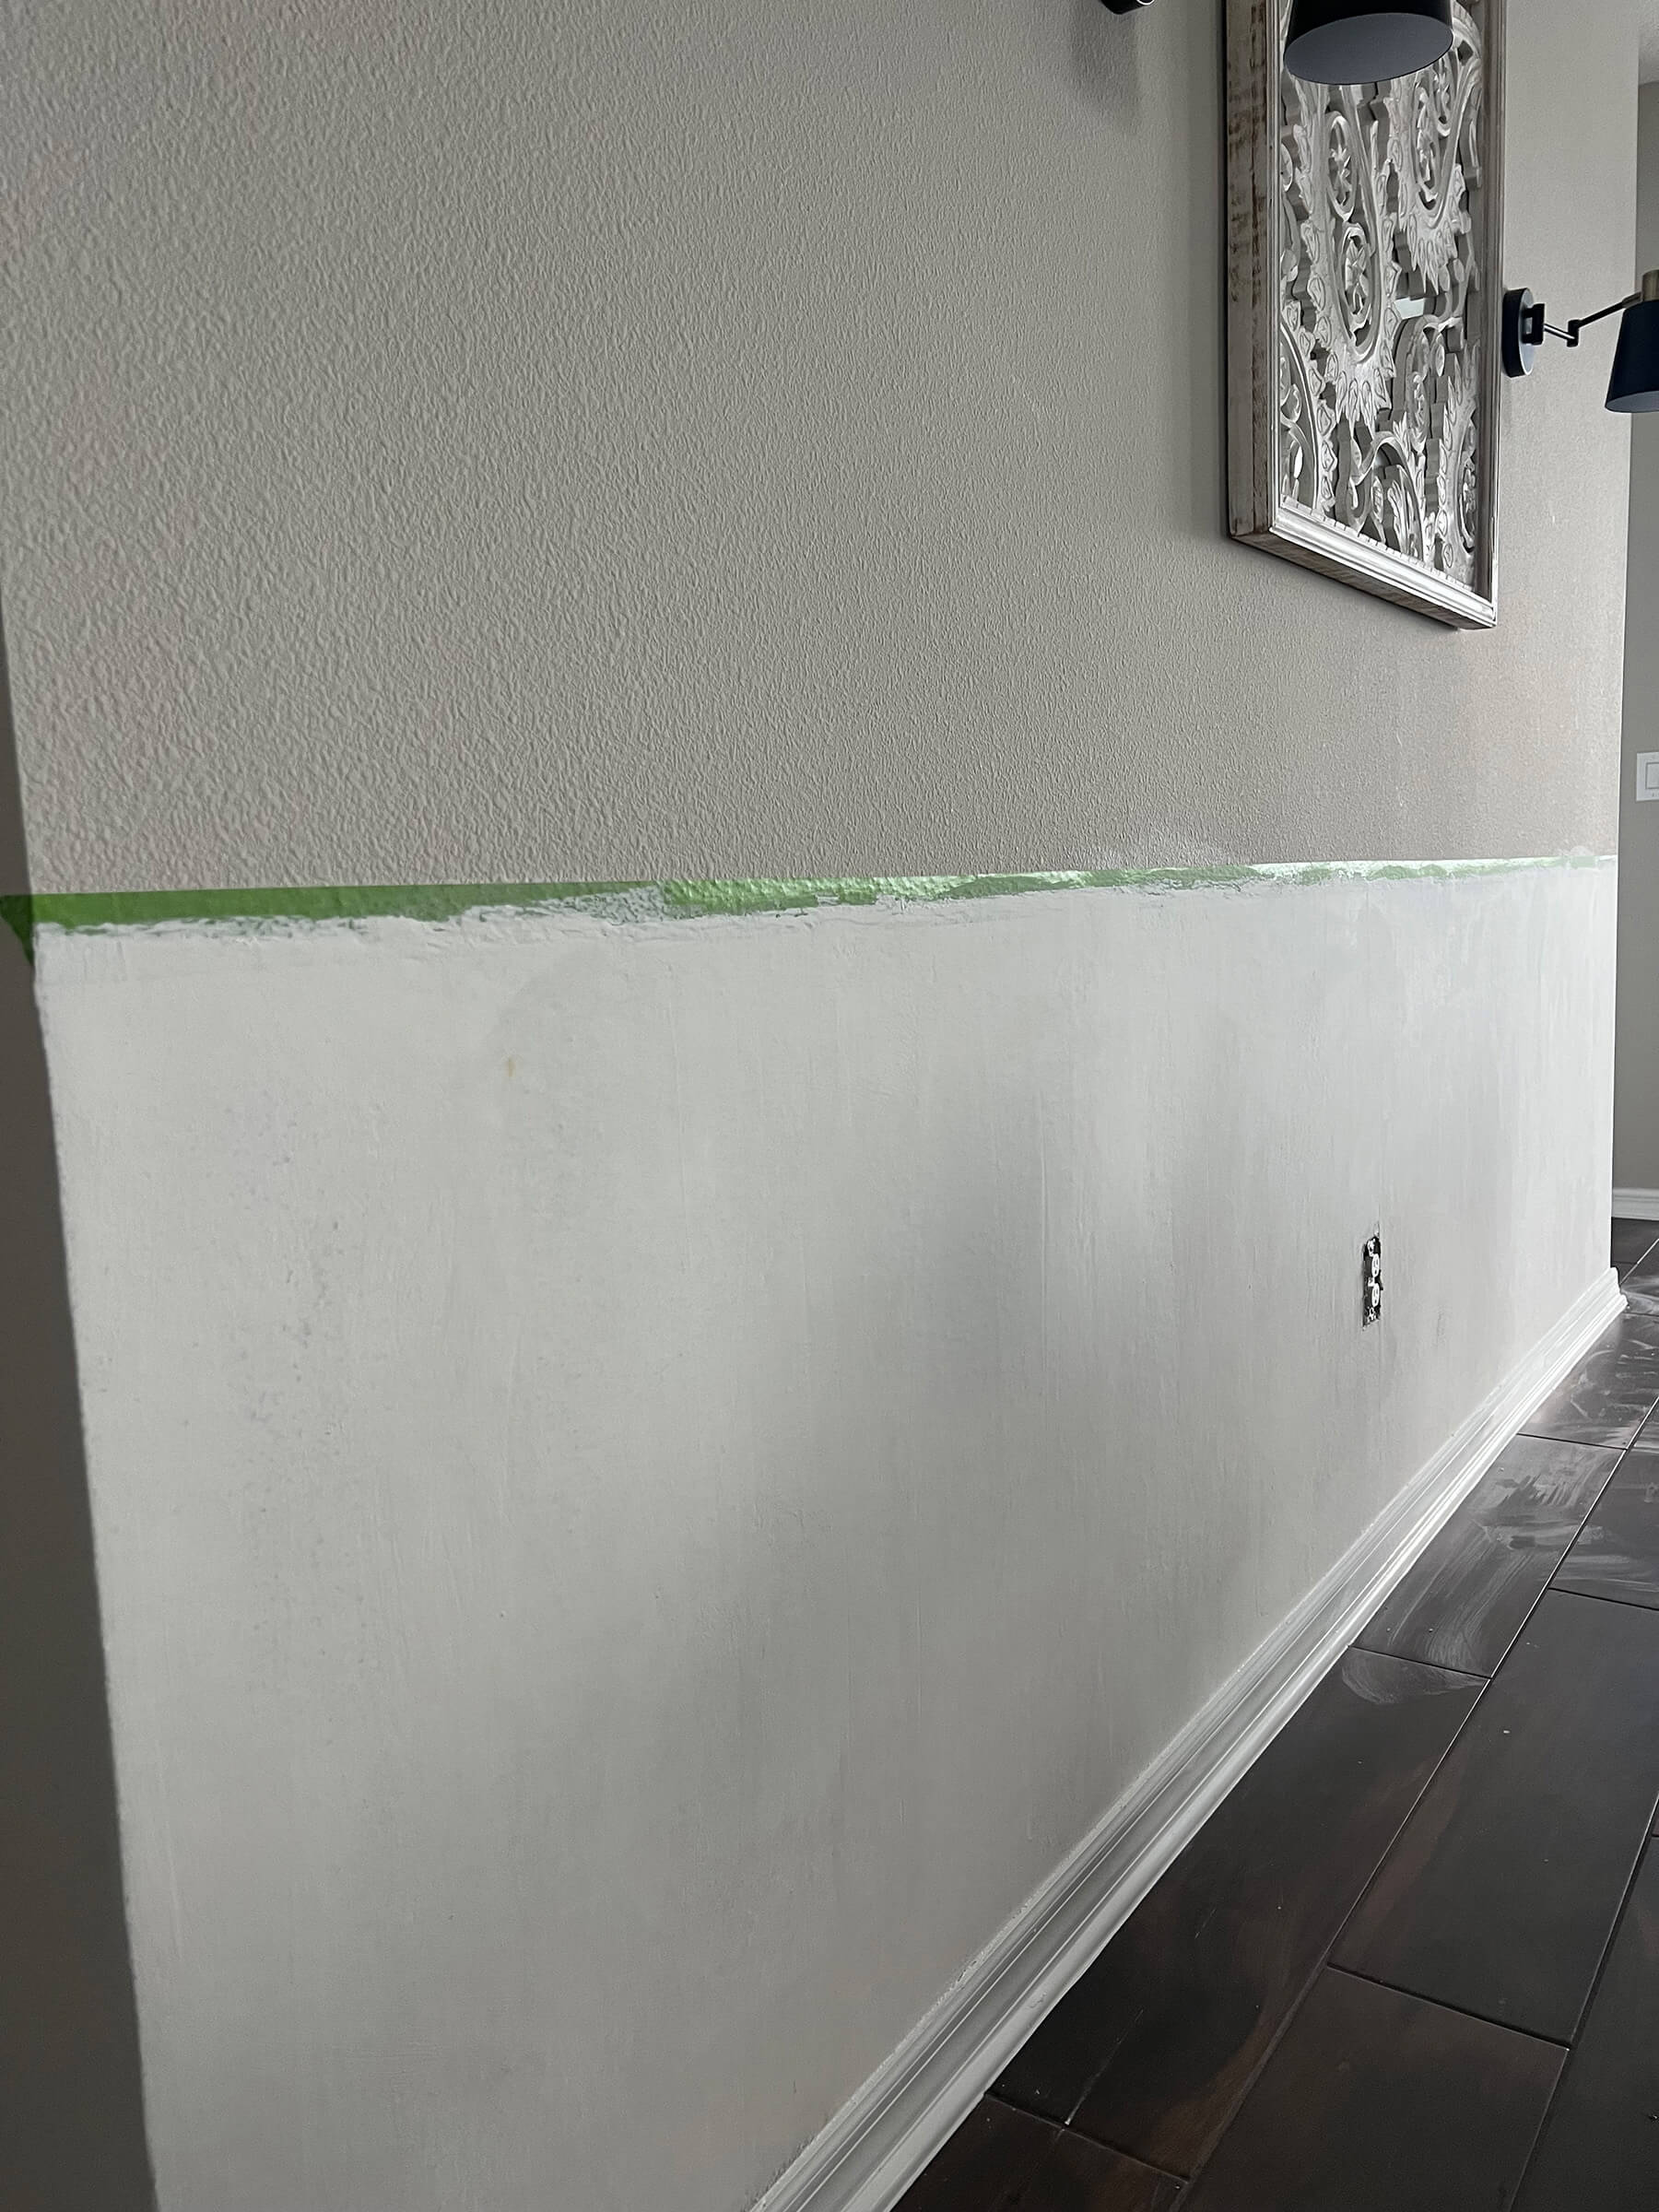
One of the most frequently asked questions I get is, “Can you add trim to a textured wall?” It comes down to personal preference, however, typically paneling and wainscoting are installed to a smooth surface. Since my walls are heavily textured, I will be using a skim coating technique with joint compound to smooth away my texture.
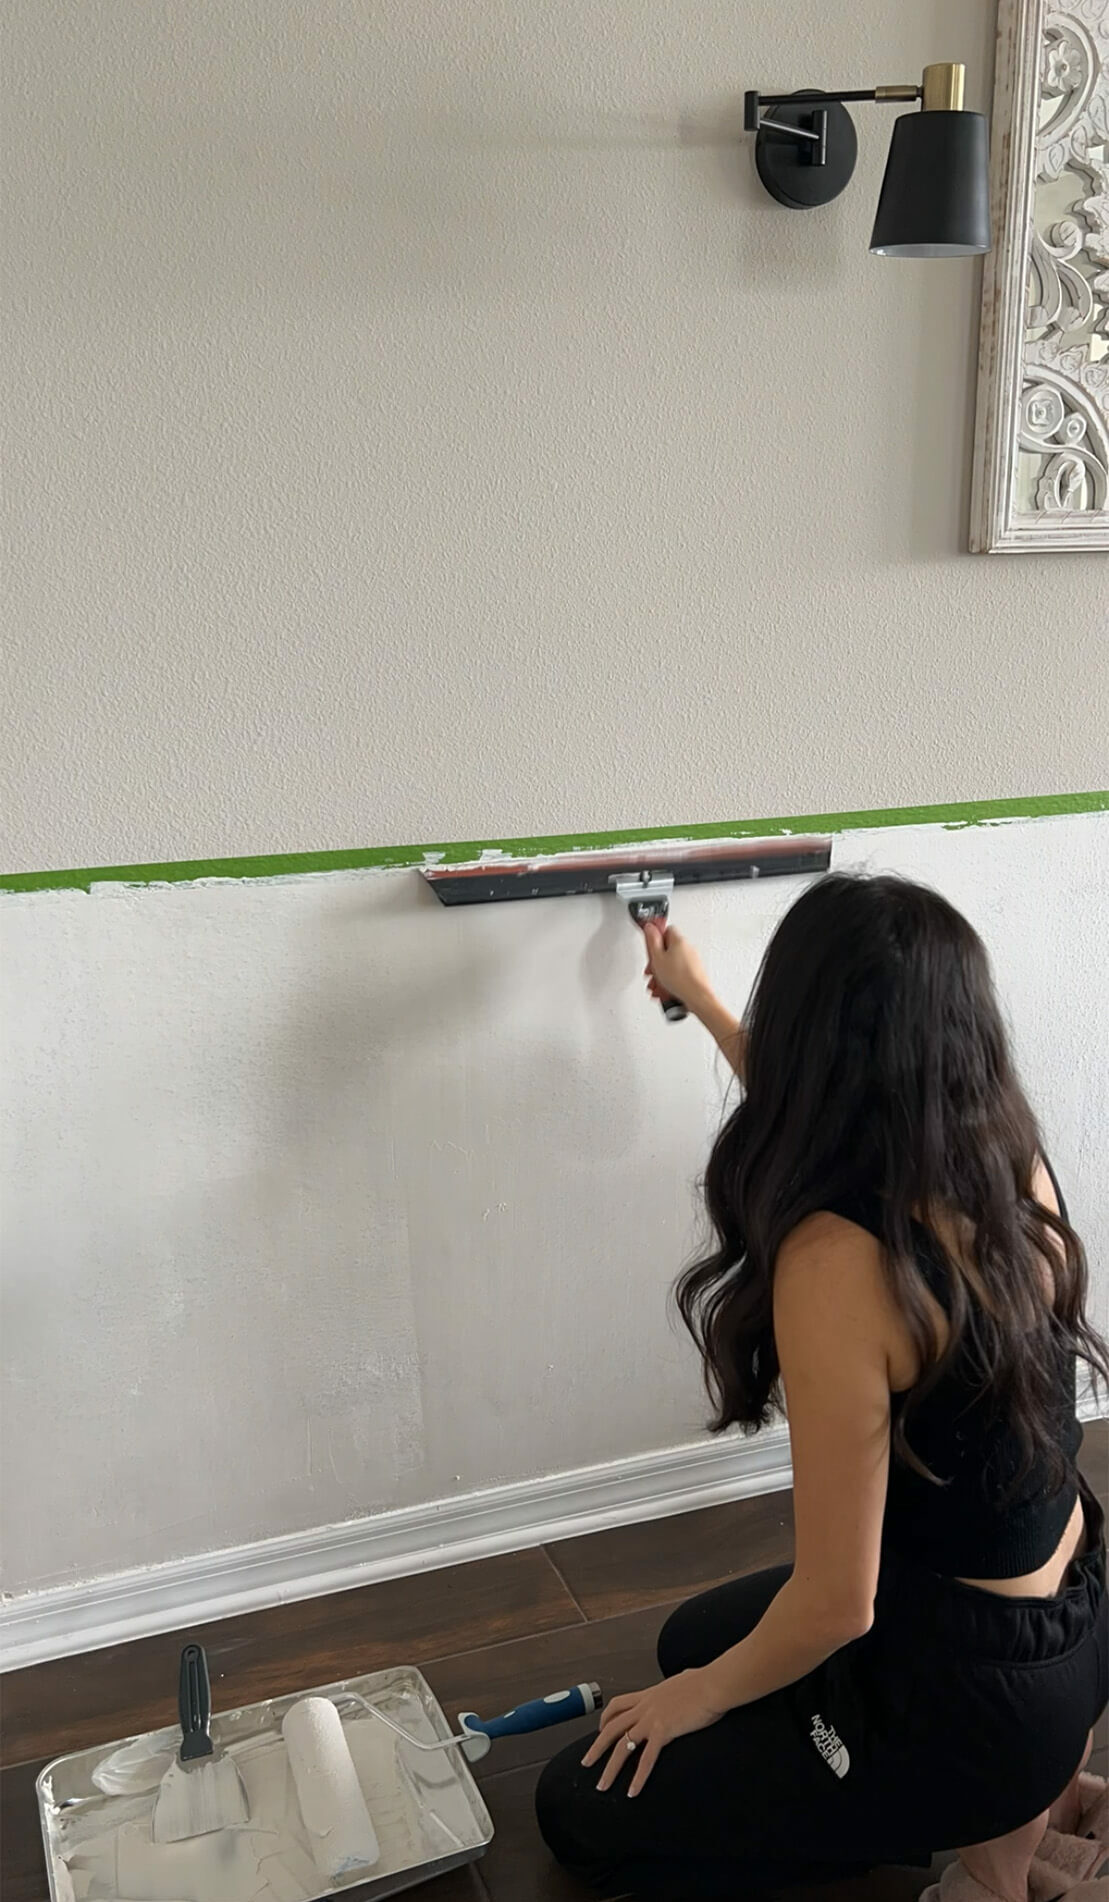
Skim coating is a simple technique, but it is time consuming. You will take your all-purpose joint compound (I like to thin mine out slightly, to a yogurt consistency), and then roll that joint compound onto your wall, working with a small section at a time. Then, using a large squeegee, smooth down the rolled joint compound. You will likely need 2-3 coats to get your walls smooth, and each coat needs at least 8 hours of drying time between each coat. After your final coat has dried, I use a wet-sanding technique to sand it down smoothly. Using a wet drywall sponge, use large circular motions to smooth down your joint compound, focusing on areas that have creases or ridges from the application. Wet sanding is a dust-free alternative to sanding your skim coated walls.
Now that you have a dried, texture-free, smooth wall, you’re ready to make your boxes! Once you have your measurements for your boxes, using a miter saw or hand-held miter shears, cut your trim at a 45-degree angle. The measurement you take on the wall is the “long side” of the mitered cut.
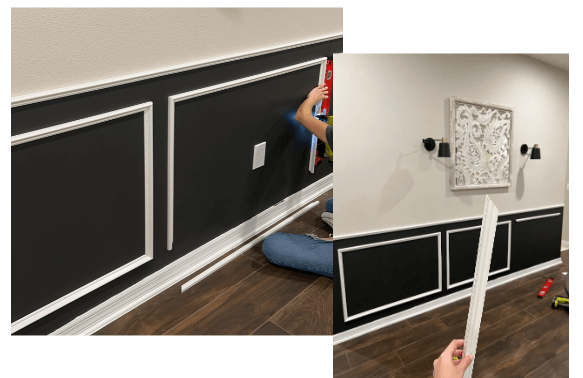
Step 4: Install
Using your level and nail gun, install each piece of trim to your walls, referencing the measurements and spacing that you’ve pre-planned out.
Your corner cuts should line up perfectly to make a box.
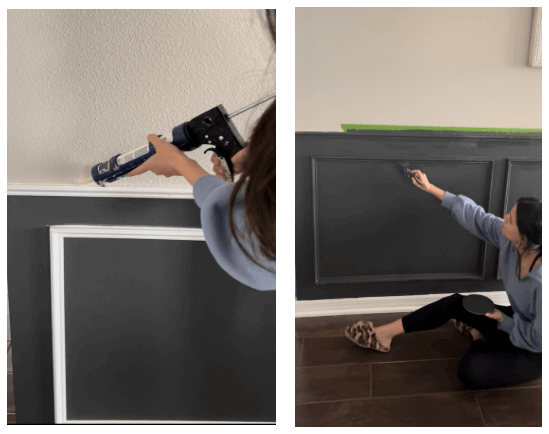
Step 5: Finishing details: caulk and paint
Once all of your boxes are installed, fill all of your nail holes and caulk all of the seams. This is an important finishing step to make your project look really professional. Then, I like to paint my trim the same color as my walls for a more modern finish.
Step 6: Admire your new accent wall!
You’re done! There’s nothing left to do but enjoy your space. Follow me on Instagram @LivingWithLeyla as I transform my home, one project at a time.