


Get on a Composting Kick (Hello, Free Fertilizer!)
Quit shelling out for pricey substitutes that aren’t even as good. Here’s how to give your soil the best while lightening your trash load.
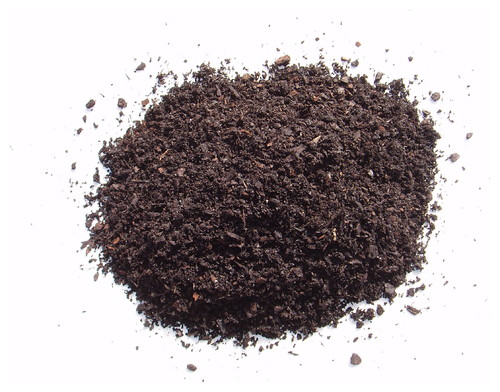
Let’s start by stating the obvious: Composting can seem daunting. As far as garden activities go, it gets a bad rap. It’s associated with yucky smells, out-of-control heaps, rats, gardens full of mushy soil and bits of eggshells. But in reality, it is the best natural ingredient with which to amend your soil. It is higher in nutrient content than any store-bought fertilizer, bagged soil or synthetic product. Best of all, it’s free, created right from your garden and kitchen waste. On average, 30 percent of household garbage sent to the landfill is green waste. Home composting helps you lessen the impact on the environment.
The term “composting” describes the aerobic decomposition of nitrogen-rich green waste and carbon-rich organic matter (such as leaves). The key is to get the perfect balance of green waste to organic matter.
Depending upon the size and type of bin system you use, the parameters will vary slightly, but as a rule of thumb you want to add a handful of organic matter for each handful of waste. Note your composter’s specific requirements, though.
In general, these items can be used with a standard composting system:
Green material (nitrogen rich):
- Kitchen scraps (vegetable and fruit)
- Coffee grounds and tea leaves
- Plant trimmings: leaves, foliage and flowers
- Grass clippings: fresh mulch from mowing (lawns without pesticides)
Organic material (carbon rich):
- Leaves: dry fall leaves (oak leaves decompose slowly; use those sparingly)
- Newsprint, cardboard and brown paper, shredded or cut up into small pieces (use sparingly)
- Dry grass clippings
- Straw — an excellent source of carbon
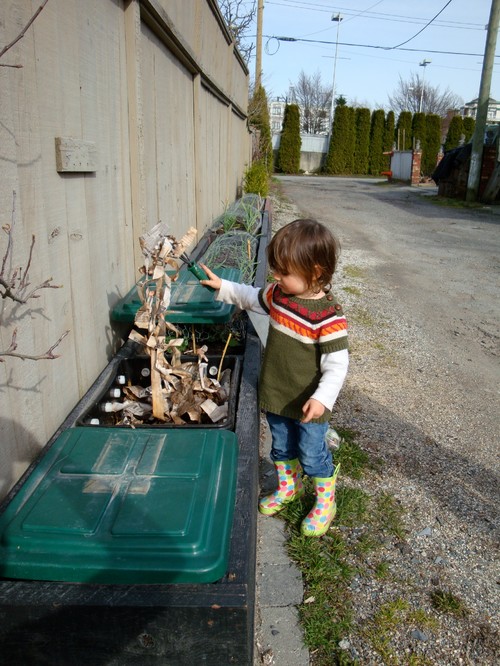
Composting is a great way to get the entire family involved in garden activities. Everyone can participate and feel good about making a difference. And it’s a great tool for kids to learn the fundamentals of recycling items into the earth.
Easy steps for composting with a standard system or bin:
- Choose a flat, partly sunny spot with good drainage that is convenient to get to.
- Create a 12-inch base layer in your bin using straw, leaves or woody brush material to promote air circulation.
- Alternate layers of green and organic materials.
- Whenever you add a food scrap layer, top it off with an organic material layer.
- Every two weeks mix the contents in the bin. This aerates the materials and gets the bin heated up again for decomposing matter.
- The pile will shrink over time. Continue to add layers until the bin is almost full.
- Harvest the compost every six months. The bottom and center should be fully decomposed and full of healthy, moist areas for worms.
- If your soil has large chunks, you can sift it through a mesh screen.
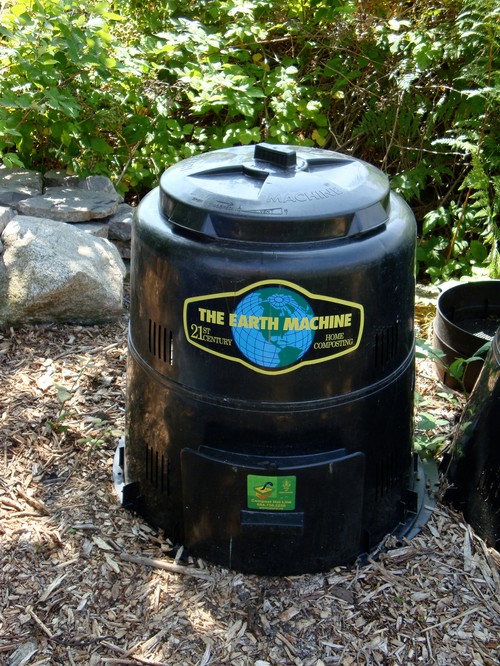
Choosing a bin. Composters come in many shapes and sizes. They can be purchased at most garden stores and nurseries as well as city disposal stations.
This particular bin allows you to place compostable materials in the top and harvest compost from the bottom.
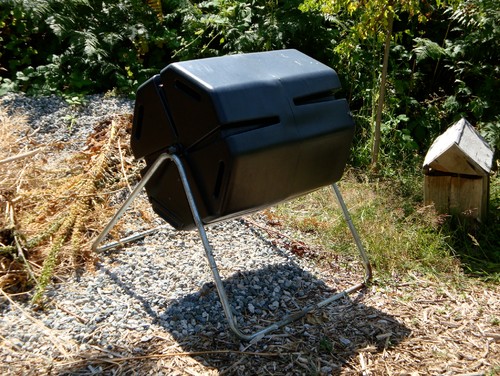
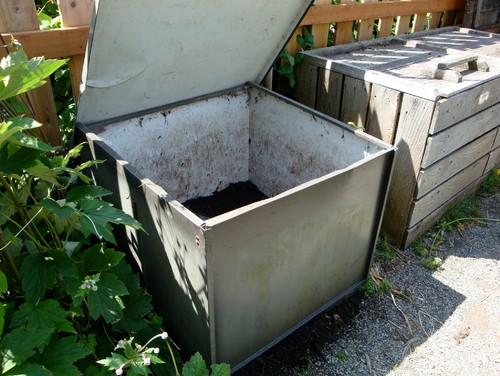
This rotating bin is the easiest one to manage. The only downside is that the soil needs to be harvested all at one time.

This system is geared toward serious compost aficionados. Once it’s up and running, you can process large quantities of compost with staggered availability — meaning you always have a steady supply of compost ready to go.
An active compost pile (one that you continually add green waste to) needs more time to decompose. This system allows you to stop adding green waste to one pile so it can finish composting. When it is finished, use it in your garden and start refilling the bin while the other pile finishes. The third bin in this system is always left empty to allow for easy mixing.
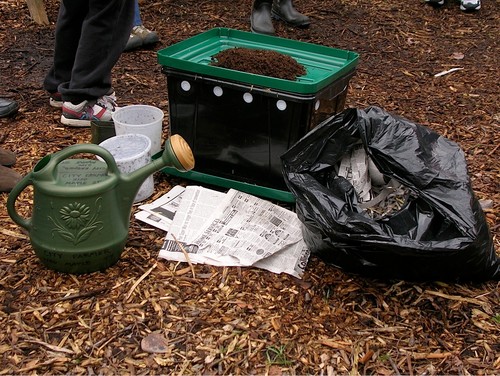
A worm bin is another option that works especially well in small spaces. Worm composting, or vermicomposting, is very similar to standard composting but operates on a smaller scale and relies primarily on worms for decomposition. The worms used in these compost systems are called red wigglers; they can often be purchased along with a bin (or you can get them from a friend’s system).
Worm bins can generate great liquid and solid fertilizer for your plants. Most commonly, people purchase specifically designed worm composting bins that are relatively shallow and wide.
What has been your experience with composting? Do you love it, or would you rather leave the scraps behind? Share your thoughts and composting tips below.
Related Topics:
Click to Find Landscaping Companies Near You
Want a Butterfly Garden? Try These 6 Plants Instead of Butterfly Bush
Watch: How to Make a Worm Bin for Rich Soil and Happy Plants