

How to DIY a Shiplap Entryway Bench
Shiplap is such a fun material to work with and it isn’t just for walls anymore!
This hall tree made from Royal® Building Products’ PVC Shiplap is simple, eye-catching and can easily be completed in one day.
The best part of this fun DIY is the customization options that can be put into it!
Step 1: Cut Materials
Here’s what I used:
Backing cut list
- 2-2×4 @ 66”
- 2- 1×4 @ 66”
- 12- 1×6 Royal Shiplap @ 42”
Seat cut list
- 4- 2×4 @ 13” (frame)
- 2- 2×4 @ 10” (frame)
- 4- 2×4 @ 41” (frame)
- 1 – ¾” plywood @ 14”x 41” (bottom shelf)
- 2 – 1x8x 48” (top seating)
- 6- 1×6 Royal Shiplap @ 14” (bench siding)
- 3 – 1×3 @16” (front framing)
- 2- 1×4 @ 19” (front framing)
- 2 – 1×5 @ 19” (front framing)
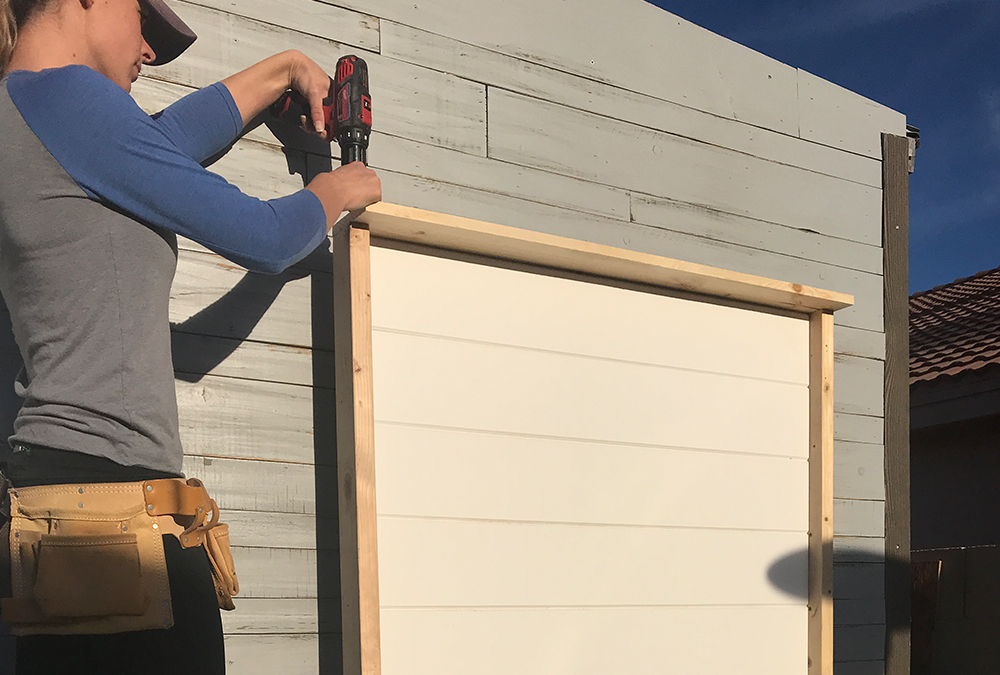
Step 2: Assemble the backing
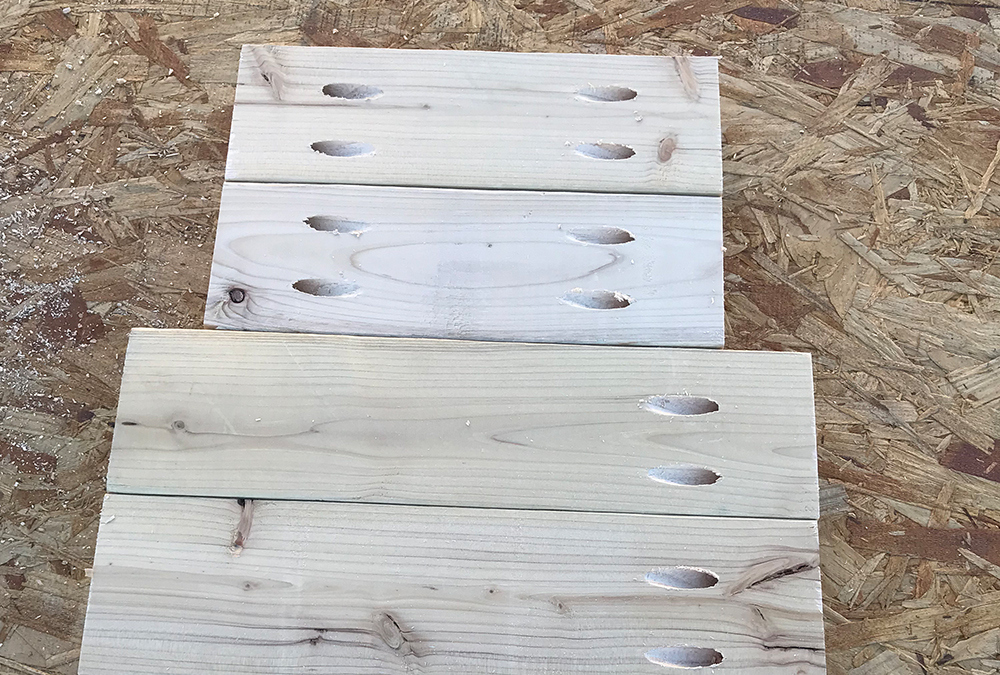
Place pocket hole screws into each 1×4 pieces. This will allow for attachment to 2×4.
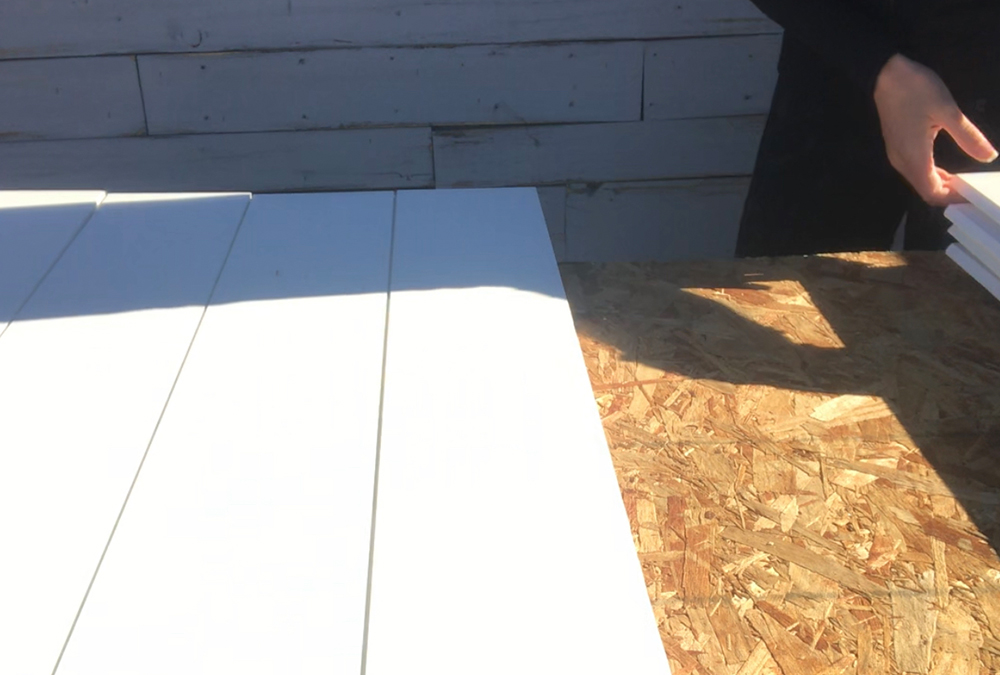
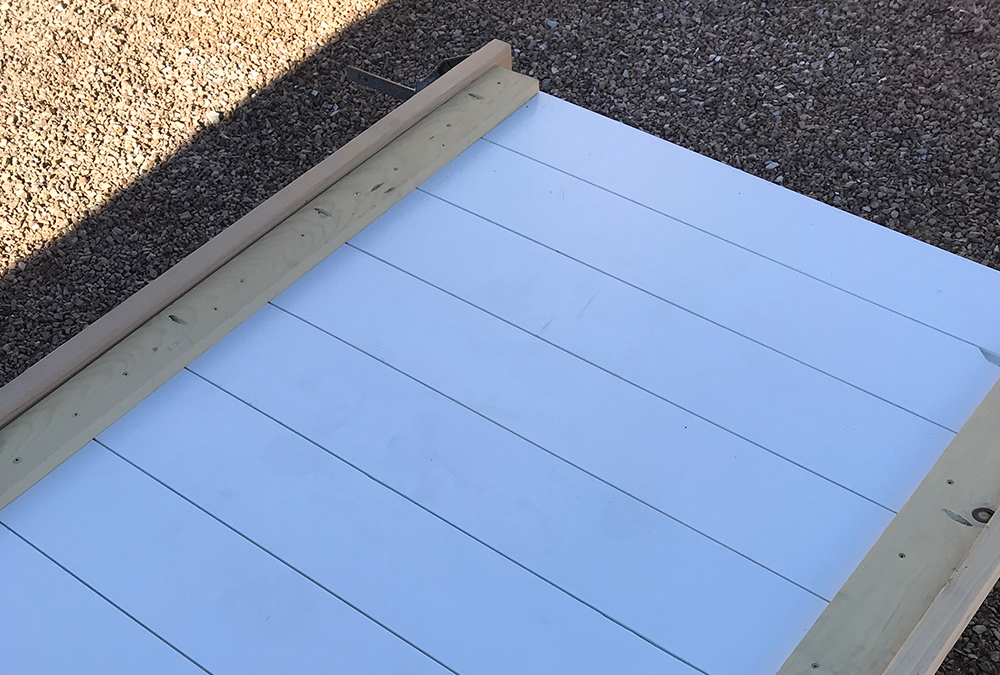
Align 12 shiplap with the back side facing up. Attach 1×4 flush on either ends and one in the middle.
Attach 2×4 to 1×4 using pocket holes, these pieces will be flush to allow for overhang in the front. (see photo)
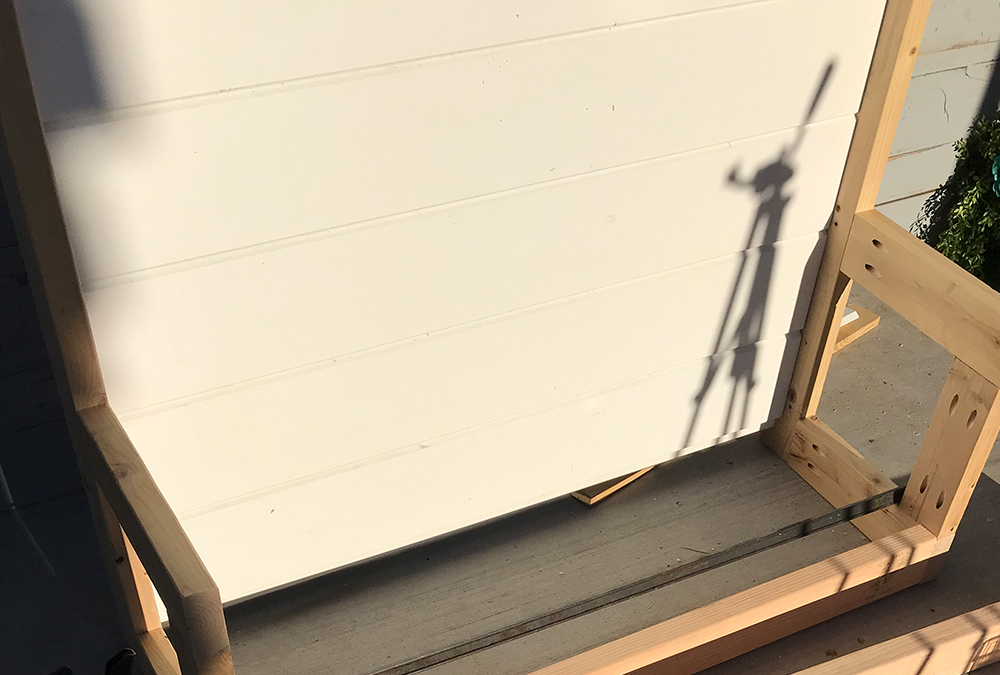
That’s it! The backing is done! Now we have a large, sturdy shiplap wall for the hall tree!
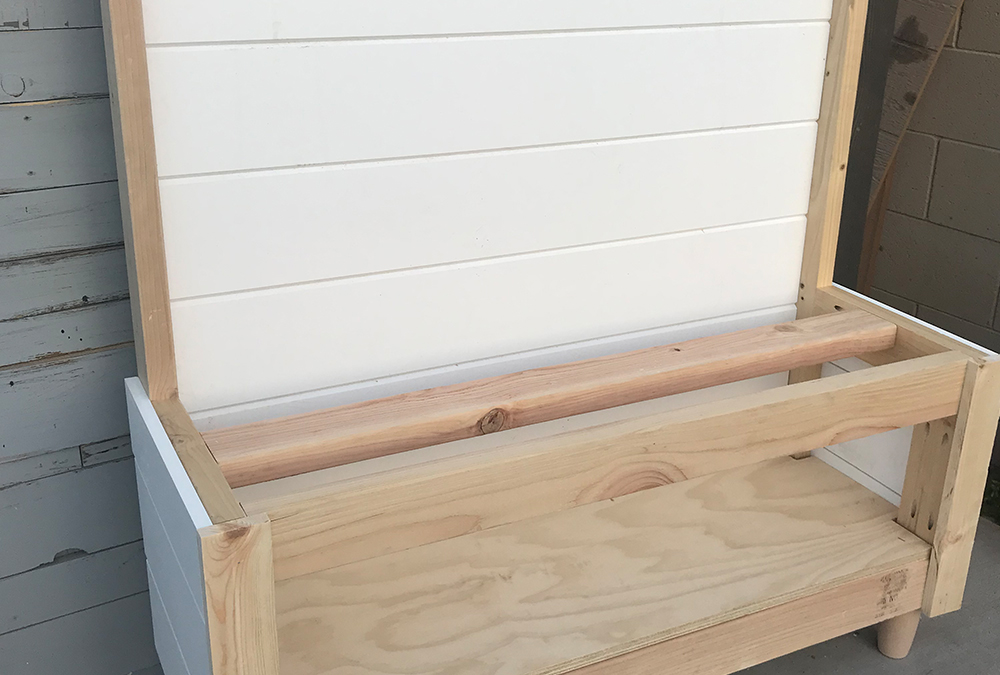
Step 3: Assemble the seat
Construct 2 C shapes of 2x4s using the 13” and 10” pieces. These will have pocket holes and attach into the 2×4 frame of the shiplap backing.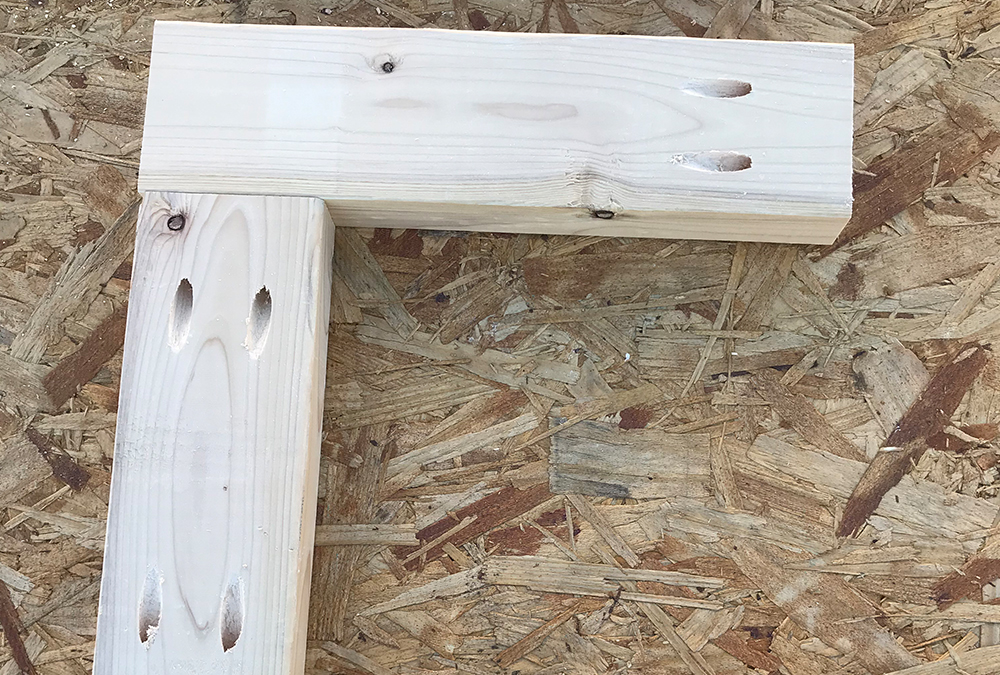
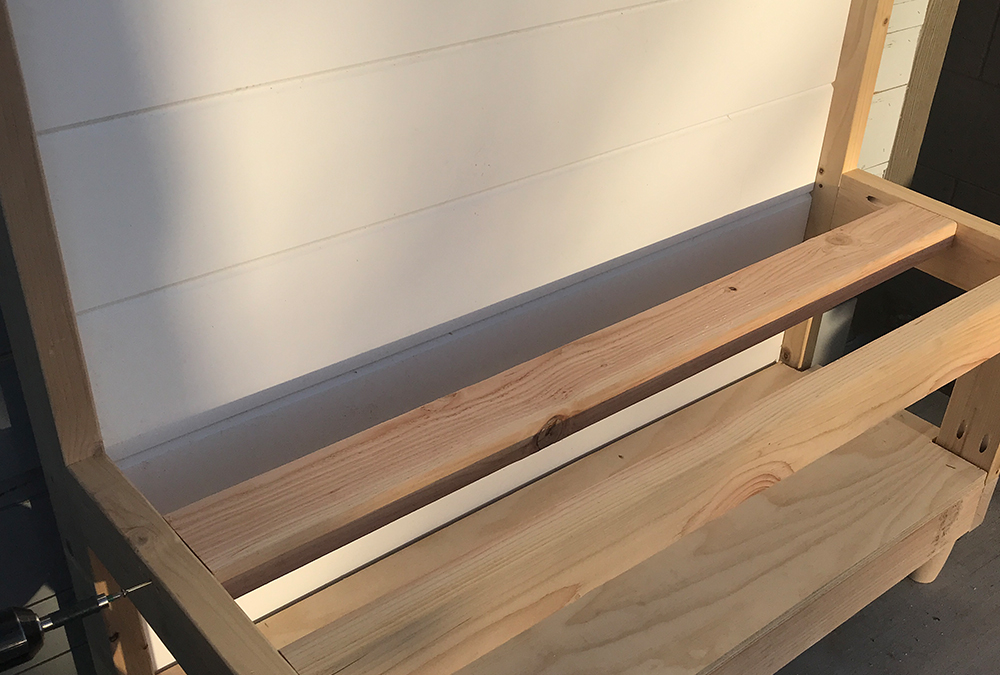
Attach bottom 41” 2×4 to secure bottom of the bench as well as the middle support 41” bottom 2×4.
Next, the bottom shelf will be placed. In order to do this, measure and cut around the frame pieces with a jigsaw. This will allow the bottom shelf to fit perfectly.

Once the bottom shelf is in place, attach top 41” support 2×4 as well as from frame 2×4. Mirrored as the bottom was placed.
Next, place the top shelf on the top of the backing and secure using 2” screws into the backing 2×4.
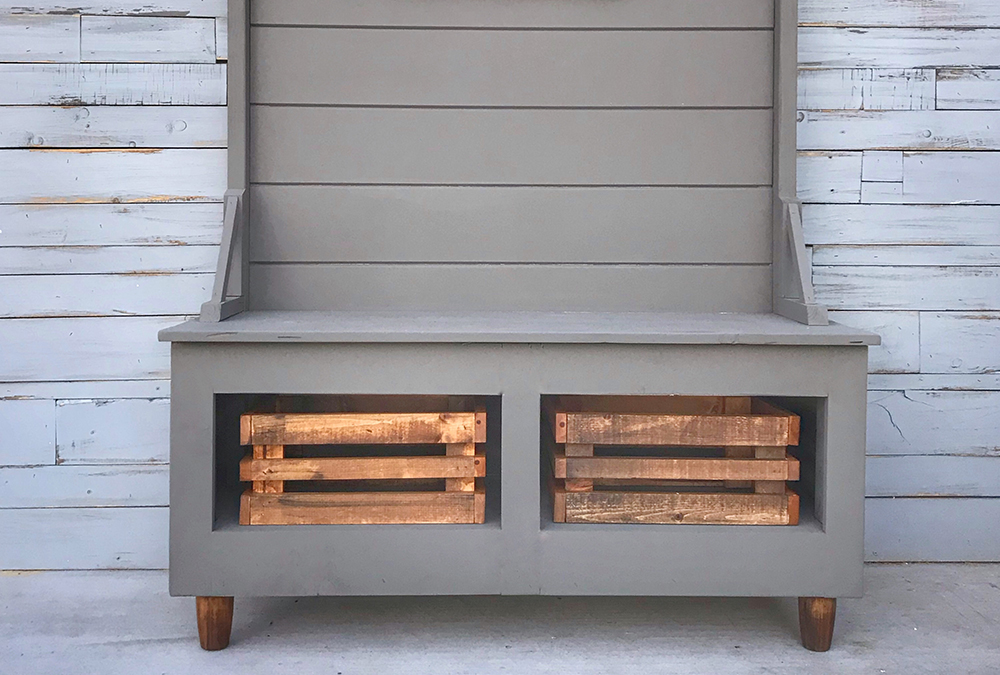
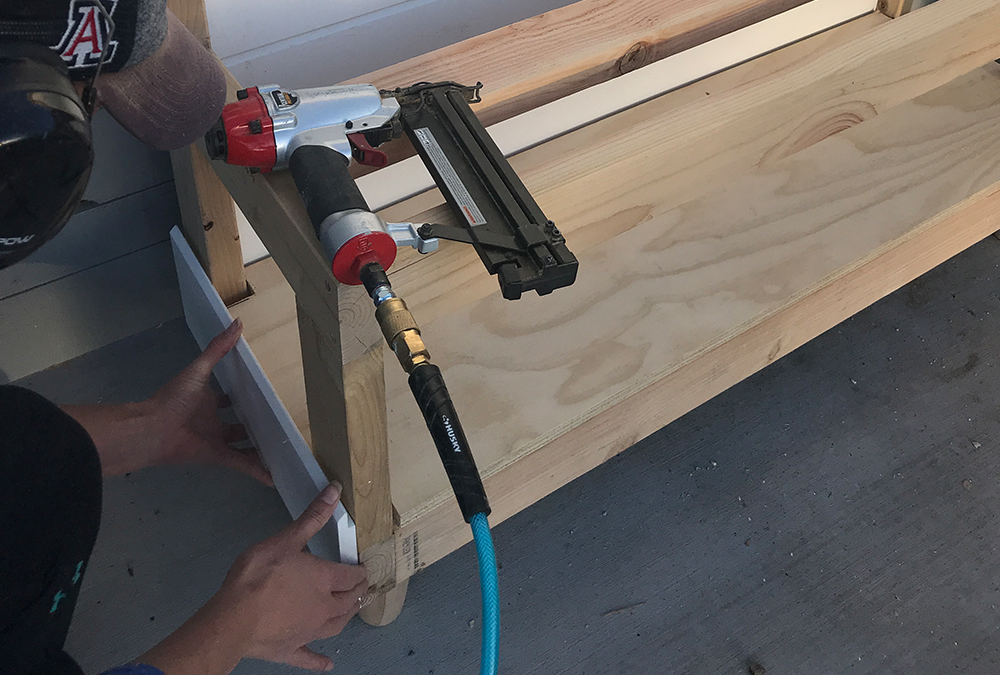
Step 4: Beautify and cover the bench base
I opted for adding shiplap to the sides to tie in with the backing, it flows really well and helps make it even more of a statement piece! Staple in 3 shiplap pieces on the outside walls. The top piece will be trimmed to sit flush with the top of the bench.
Attach front framing. 1×3 on either side, and one in the middle. Top front framing piece is 1×4 @ 19” and bottom is 1×5 @ 19”. The bottom trim is slightly wider to cover the exposed bottom shelf plywood.
Lastly, the bench seat is constructed from 1×8 @ 48”. Just like the bottom shelf, small rectangular squares were cut to allow the seat to sit flush with the backing and go around the 2×4 back framing. To achieve this cut, measure the length and width of the exposed 2×4 where to seat will be placed. This measurement will be cut out of the seat to allow it to sit flush.
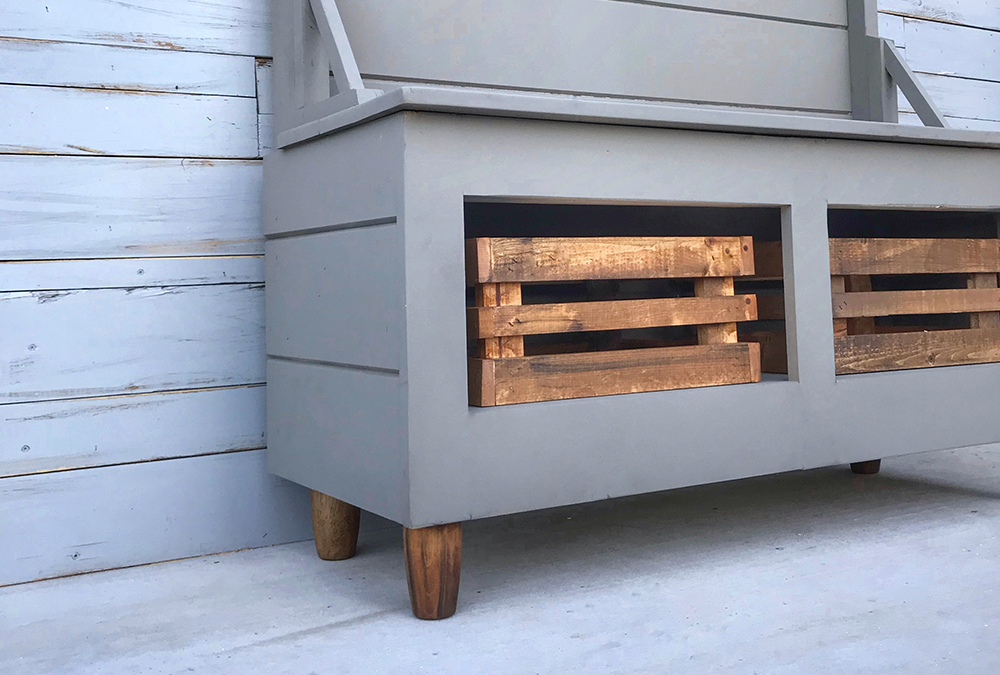
You’re done! Now the fun part! Customization! I opted for simple turned 4” legs to give this hall tree an elevated look. There is a variety of legs to choose from if you decide to add them. For a less expensive option, scrap lumber can be added to give the look of legs. As a finishing touch, I painted it with a PVC-approved vinyl paint.
Have fun with it and happy building!
Royal’s PVC Shiplap is an ideal material for interior or exterior projects, due to its versatility, low maintenance and resistance to moisture. Ready to get started? Find Royal Shiplap products at a distributor near you.